
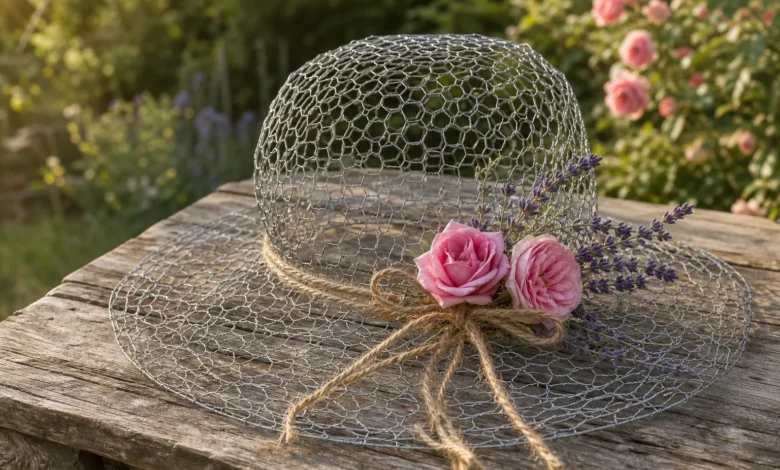
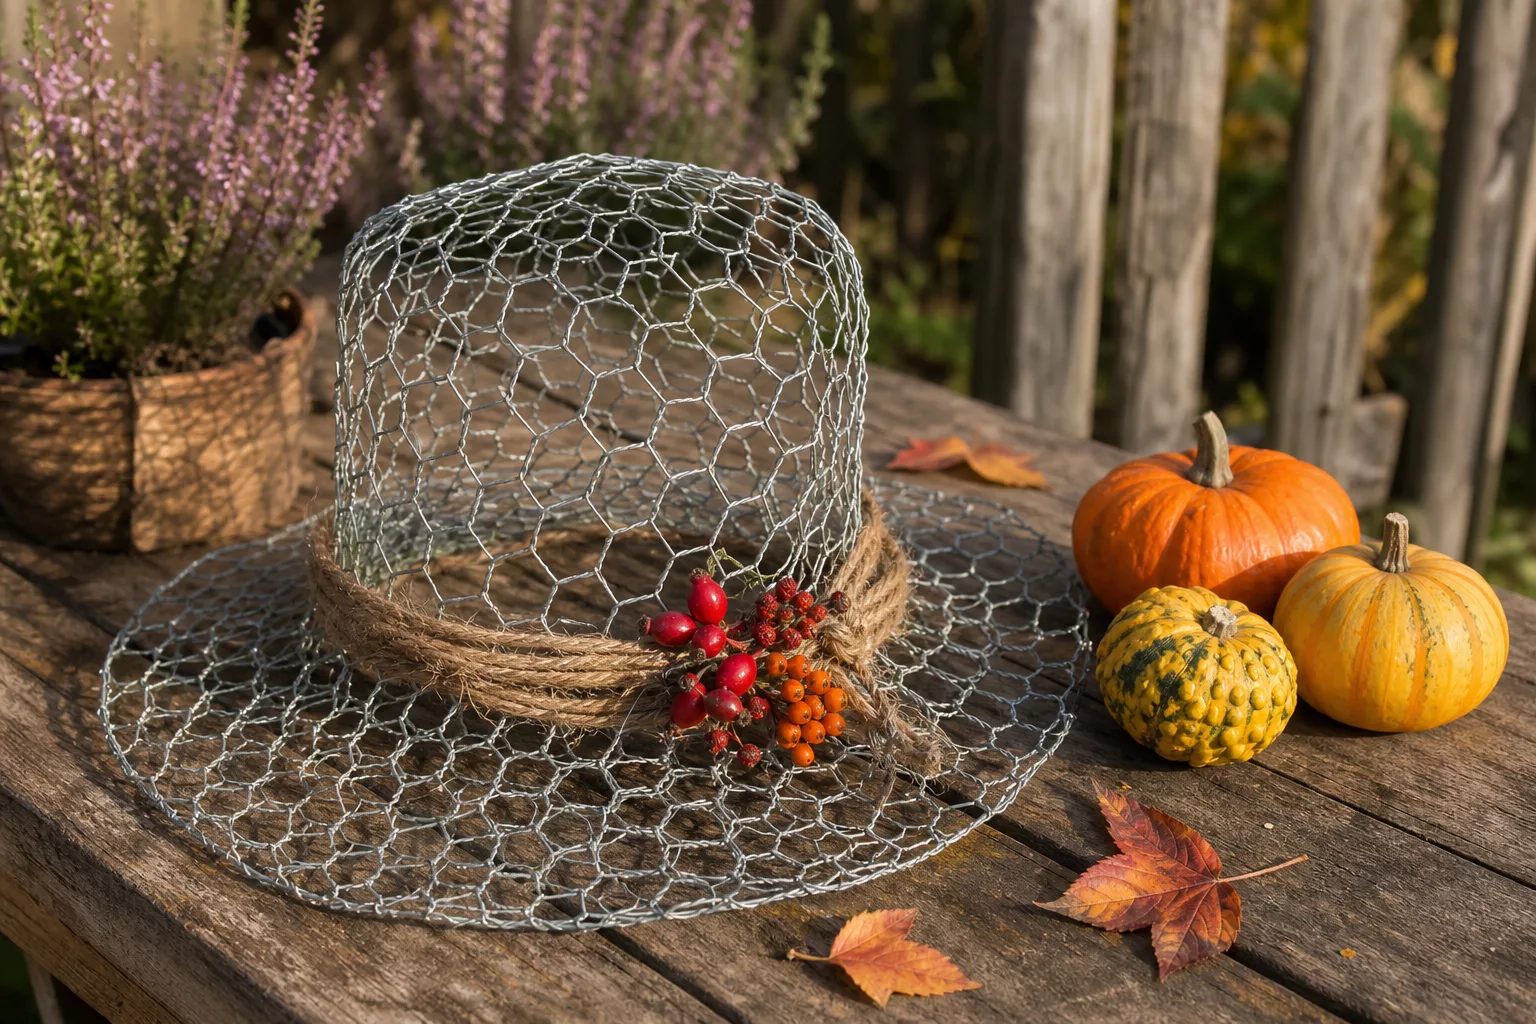
A hat made of rabbit wire is one of the cheapest garden decoration ideas that still looks like something: a piece of galvanized rabbit wire, bent over a bowl and wrapped with jute rope – the basic shape is ready, which you can then re-equip depending on the season. Making your own hat out of rabbit wire will cost you an afternoon and a few euros in materials. And unlike a terracotta figure, this piece is never left empty: in May there are ranunculus in between, in October there are rose hips, in December there is a small chain of lights.
Why rabbit wire works as a garden decoration
Rabbit wire – often labeled as rabbit or aviary wire in hardware stores – has a charm that smooth materials don’t have. The fine hexagonal mesh appears airy, allows light and background to shine through and over time acquires a silvery-gray patina that suits the country house and cottage garden like little else. An object made of wire surrounds the plants instead of covering them.
Then there is the price. A roll of galvanized rabbit wire with a 25 millimeter mesh size costs roughly between 10 and 25 euros at the hardware store, depending on the height and length – and a complete hat can be made from a single meter. If you have a leftover piece of the bed fence lying in your shed anyway, you don’t pay anything. It is precisely this mixture of almost free material and changeable result that makes the wire hat a rewarding weekend project. If you get a taste for it, you’ll find the next replenishment in our 70 DIY garden decoration ideas.
Material and tool list
You don’t need much. Everything except the wire is lying around in most households anyway, and the curvature is created using an ordinary kitchen bowl.
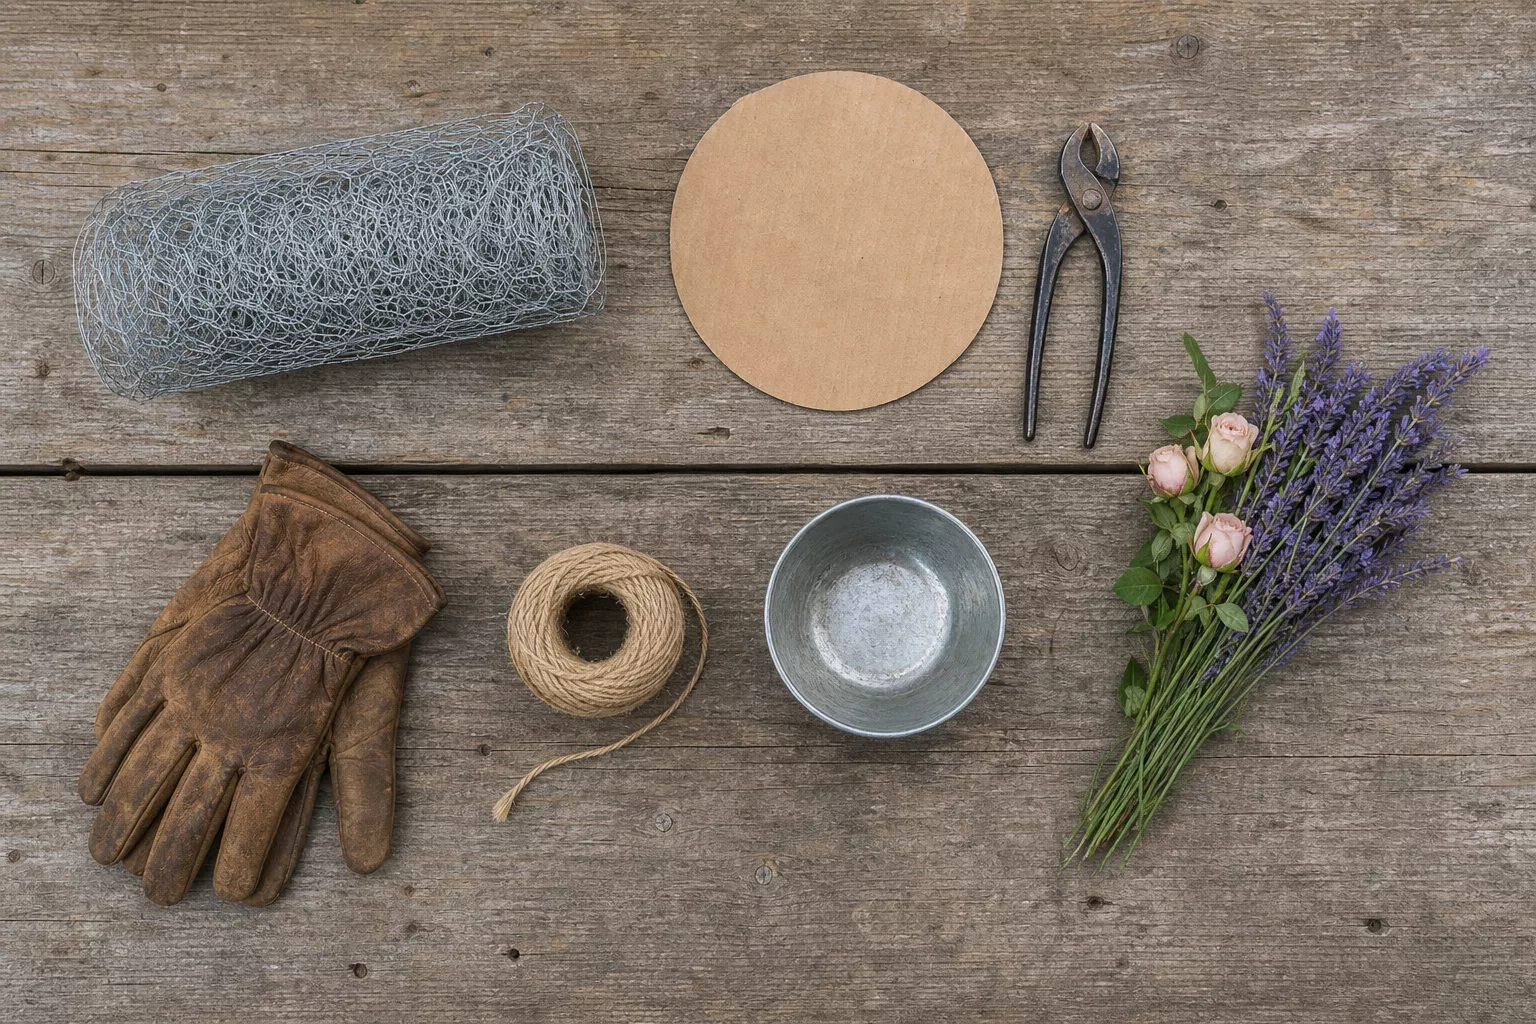
- Bunny wiregalvanized, approx. 1 meter (mesh size 13-25 mm is easiest to bend)
- A round bowl as a shaping aid for the crown (salad bowl or deep flower pot saucer)
- Cardboard for the brim template, circle diameter 45 to 60 cm
- Side cutters or strong wire cutters
- Work gloves – the cut wire ends are pointed
- Thin craft wire to fix the parts
- Jute rope or cord for the hat band
The decoration depends on what the garden and the season have to offer:
- Fresh or dried branchesflowers and berries
- Cones, eucalyptus or dry grasses
- A LED string of lights for the dark season
Make your own hat out of rabbit wire – step by step
Four steps and the blank is ready. Take an hour for the first hat – from the second on it goes twice as fast.
Step 1: Trim the brim
Roll out the wire flat and place the round cardboard template (45 to 60 cm) on top. Cut out a circle with the side cutters – wear gloves, the cut edges are razor-sharp. This wire disc will later become the brim and give the hat its width.
Step 2: Form the crown over the bowl
Turn the bowl over and press a second, smaller piece of wire (about 30 x 30 cm) over it from above. Using the gloves, model the braid onto the curve, fold by fold, until an even dome is created. Shorten the excess wire at the bottom so that a seam of two to three centimeters protrudes – you will need this for connecting.
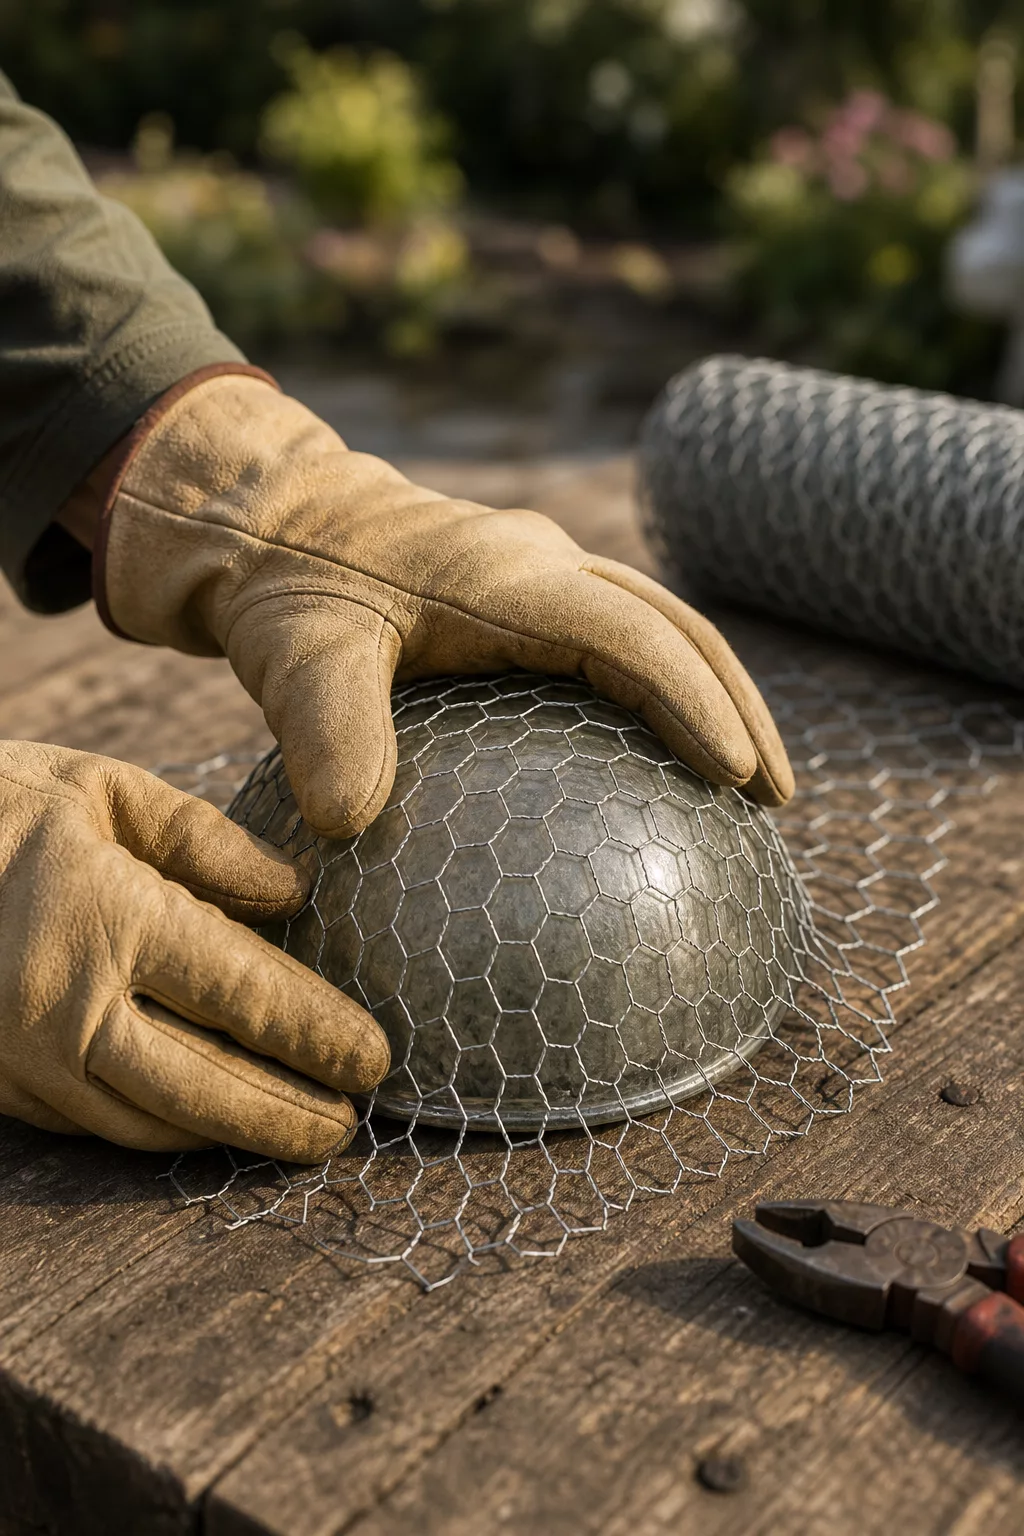
Step 3: Connect the crown and brim
Place the dome in the middle of the brim. Bend the protruding hem of the crown outwards and twist it onto the brim with short pieces of craft wire – a fixing point every two to three centimeters is sufficient. Then press the ends flat so that nothing gets caught on them later. Now the hat stands on its own for the first time.
Step 4: Use jute rope to attach the hat band
Wrap the jute rope around the junction of the crown and brim two to three times and knot it into a loose loop with the ends hanging down. The ribbon conceals the wire connection and gives the hat its cozy, finished look. If you like, you can clip the first branch under the cord now.
Weatherproof Outdoors: Will the hat withstand rust and rain?
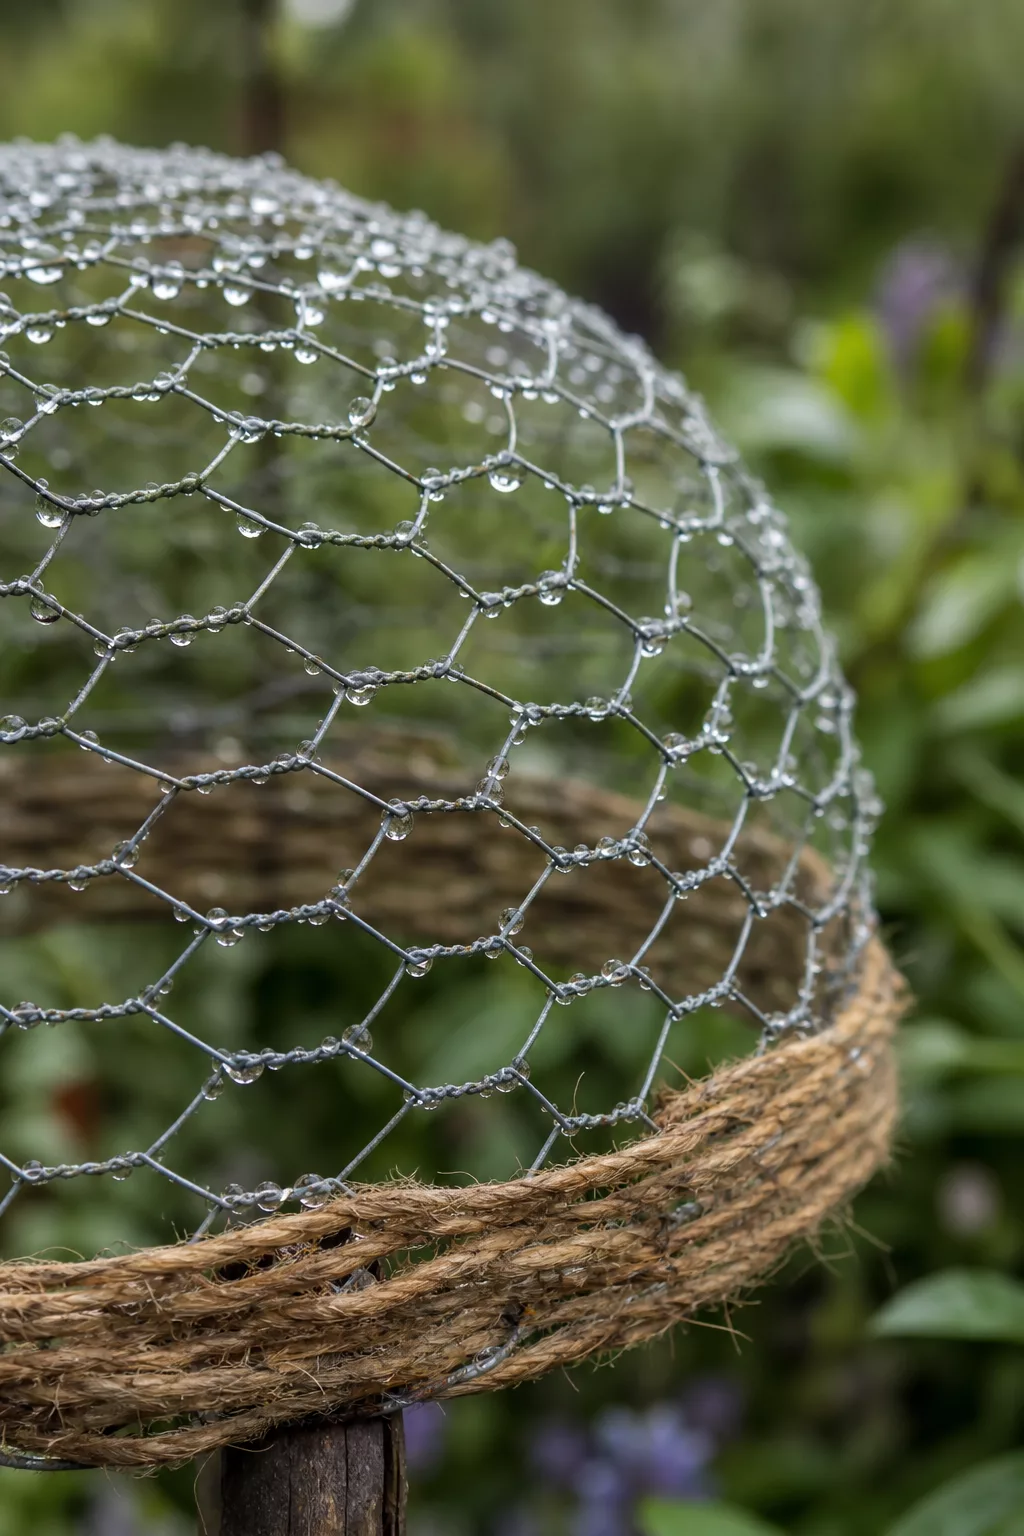
Short answer: yes. The zinc coating protects the steel wire from water rusting through, which is why the hat and decorations can be left outside all year round. What many people think is rust is usually just the dull, silvery-grey patina that galvanized wire acquires with sun and rain – it is intentional and really adds to the country house charm.
You don’t need a clear coat spray for this; it would rather cover up the typical look. Instead, pay attention to two practical things. The hat should be stable in the wind, for example placed over a metal rod inserted into the ground or clamped tightly between dense bushes. And where you cut the wire, the bare steel is exposed – over the years, a brown spot can form on exactly these cut edges. A drop of zinc spray on the ends and that’s done too.
Adjust size: mini hat for the balcony or XXL solitaire for the bed
The 45 to 60 centimeter brim is the all-rounder, but the technology works in almost every size.
For the balcony or windowsill, a mini hat is sufficient: brim around 25 centimeters, a cereal bowl instead of the salad bowl to help shape it. It fits in a balcony box or on a small side table and only needs a handful of flowers.
If you want a real eye-catcher, go the other direction. An XXL solitaire with a 70 to 80 centimeter brim becomes the center of a bed – ideally free-standing over a sturdy metal rod so that it doesn’t tip over in the wind. It has the same spacious effect as making your own XXL garden decoration. The larger the hat, the stronger the craft wire should be at the connections.
Seasonal decoration ideas at a glance
The real excitement begins after building. Because the wire remains neutral, you can change the decoration in five minutes – from the first spring blossom to the Advent branch. This overview shows what works well per season:
| season | Matching decoration |
|---|---|
| Spring | Cherry blossom branches, hydrangeas, ranunculus, clematis, some ivy |
| Summer | Roses, lavender, airy wildflowers |
| Autumn | Rose hips, rowanberries, crabapples, lantern flowers, dry grasses |
| winter | Fir and eucalyptus branches, cones, a LED string of lights |
A tip for changing: Do not tuck the stems in a criss-cross pattern, but always on the same side under the jute ribbon. This way the silhouette of the hat is retained and the braid continues to play its part.
There’s only a handful of twigs that separate the wire hat from being pretty and overloaded. These rules keep the result calm:
Pro tips
- Few, large elements have a stronger effect than many small ones – three roses beat twenty daisies.
- Two to three colors suffice; anything more makes the hat look uneasy.
- Natural material before plastic: Real twigs and jute age beautifully with the wire, plastic flowers fade quickly.
- Leave wire visible – the decoration should frame the braid and leave a good part of it free.
- A seasonal signal is enough – one or two typical branches say more than a full bouquet.
Where the wire hat works best
The hat is most beautiful where it has a calm background. The silvery mesh looks particularly good in front of a natural stone wall or a weathered wooden fence, as well as in partial shade between two rose bushes. It can also be found next to a garden bench, in the front garden or directly at the entrance to the house – anywhere that would otherwise be an empty corner. If you like the wire look, you can combine it with another DIY garden decoration idea made from simple materials.
For the first hat, choose the spot where you walk past with your coffee in the morning. Then you have something from it all year round: the first ranunculus in spring, a few lights in the wire in winter.