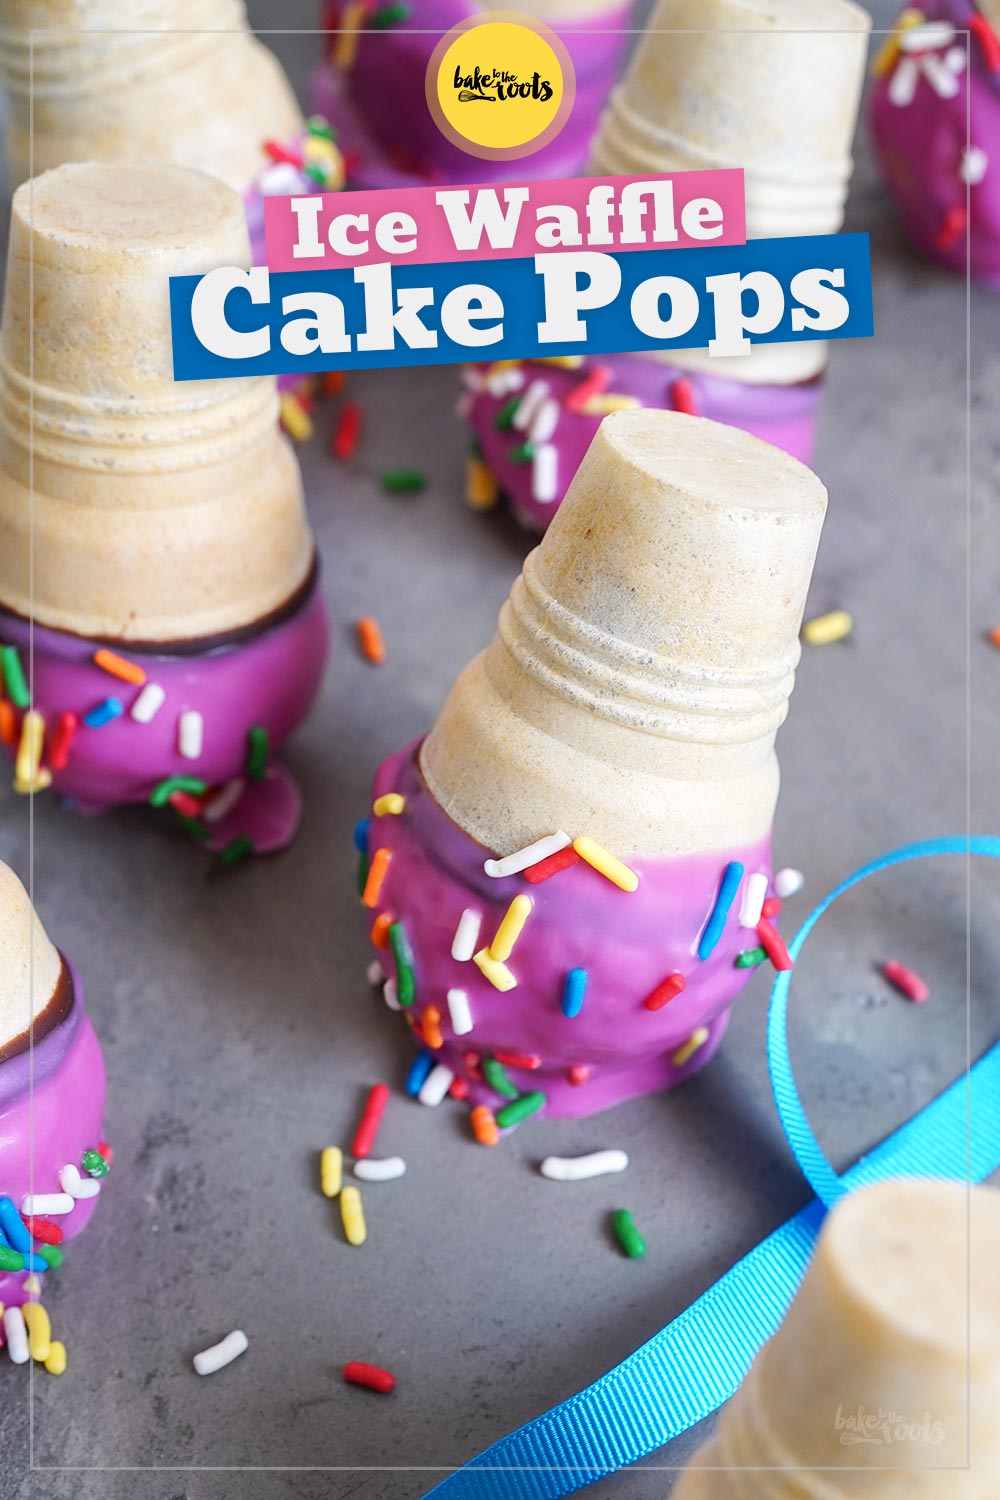
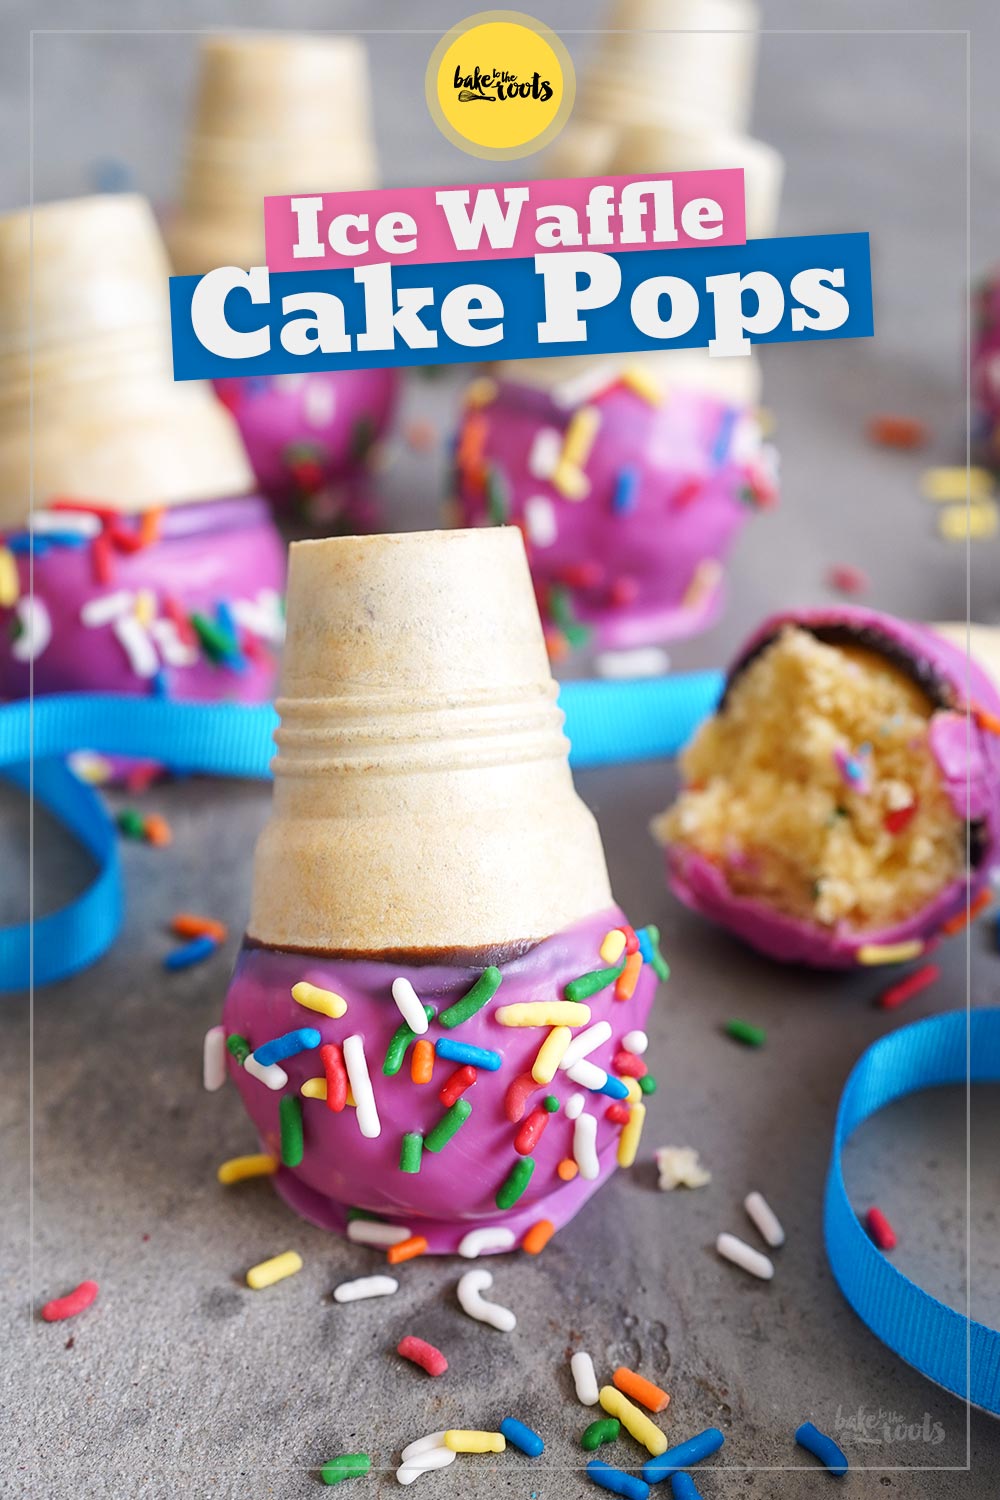
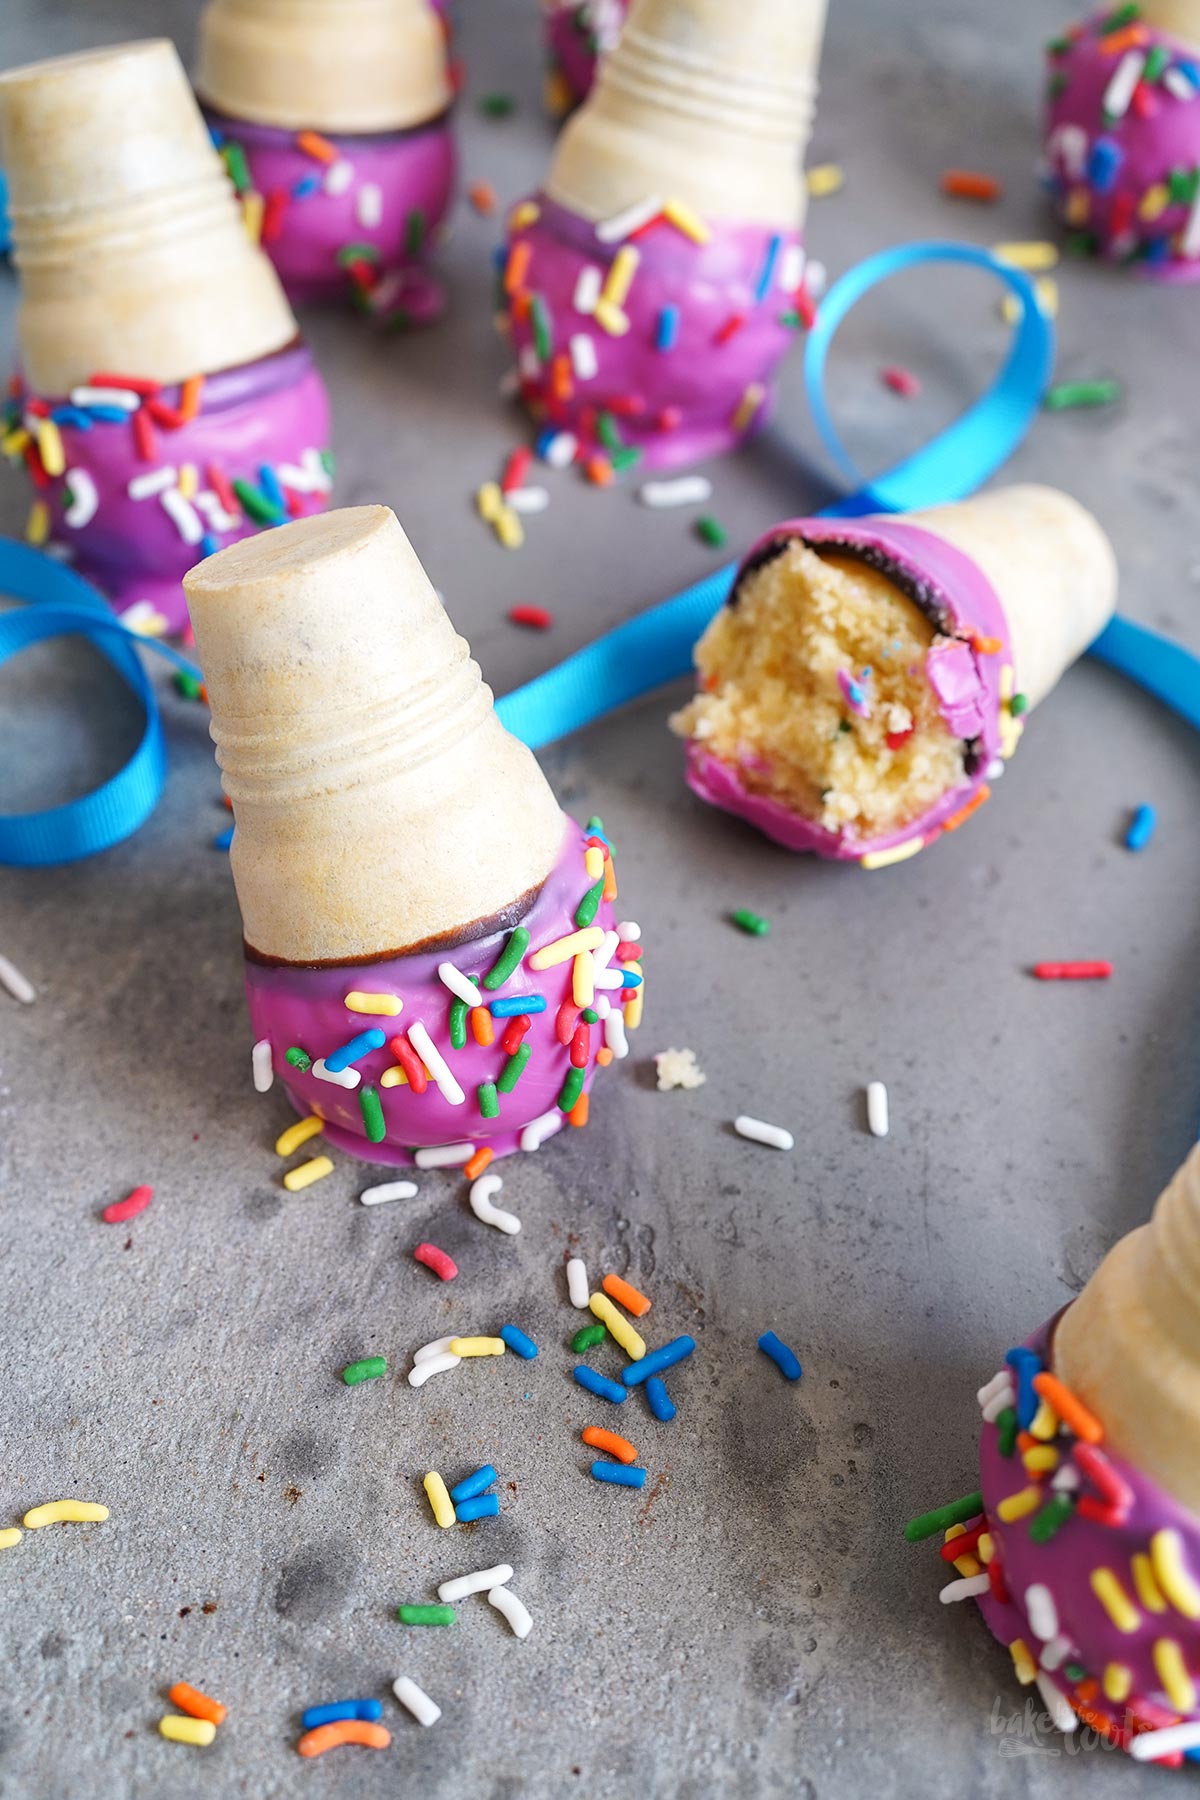
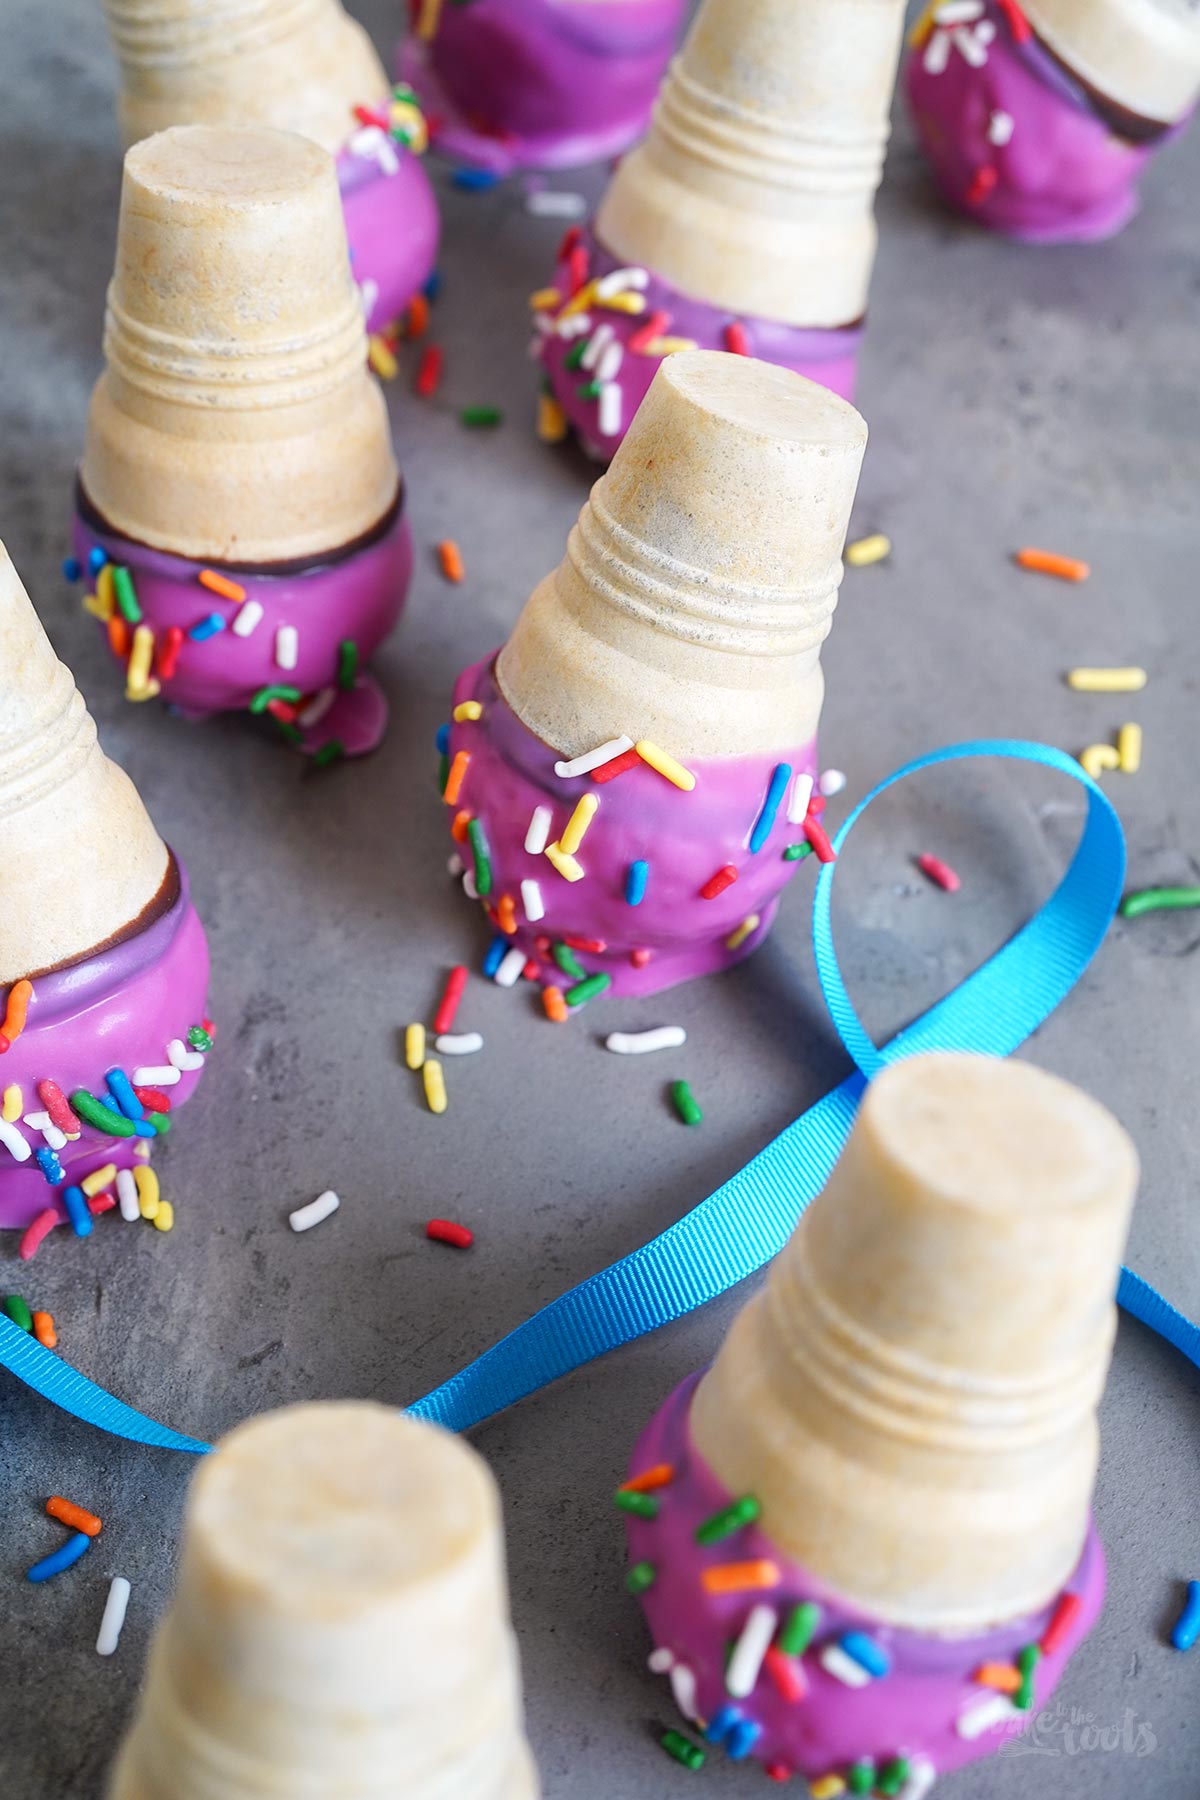
For celebrations like birthdays, you often want something sweet to snack on, right? Whether just for the birthday person or for a whole party. An entire cake is great, of course, but it can often be a bit of a hassle to make. How about someone? Melting Ice Cream Cone Cake Pops instead? Sounds pretty good, doesn’t it? They are definitely easier to make than a full-sized cake and in theory, you don’t even need an oven…

Of course, whether something is “easy to make” or not is always a matter of perspective. For someone like me, who bakes and works in the kitchen almost every day, simple cake pops are a breeze. You just mix some cake with buttercream or cream cheese to get a compact, dough-like mixture. Then you divide that into small portions, you shape them however you like, and then you coat them with chocolate. Sounds totally doable, right?
Well. You can also really “overdo” it with cake pops, tbh. Or rather, let your artistic side run wild… With a bit of chocolate and other decorative elements, those simple little dough balls can quickly turn into tiny works of art. If you have the talent. There are imaginative bakers with steady hands who craft little animals, faces, and characters out of cake pops… If you want to (and have the knack for it), the possibilities are endless! I am not one of those bakers.
I tend to be a bit more pragmatic. With my two left hands, my artistic ability to decorate on such a small scale is somewhat limited. Not that I haven’t tried plenty of times… The results, however, never looked quite the way I had originally imagined or hoped. After all, not everyone can do everything, right?
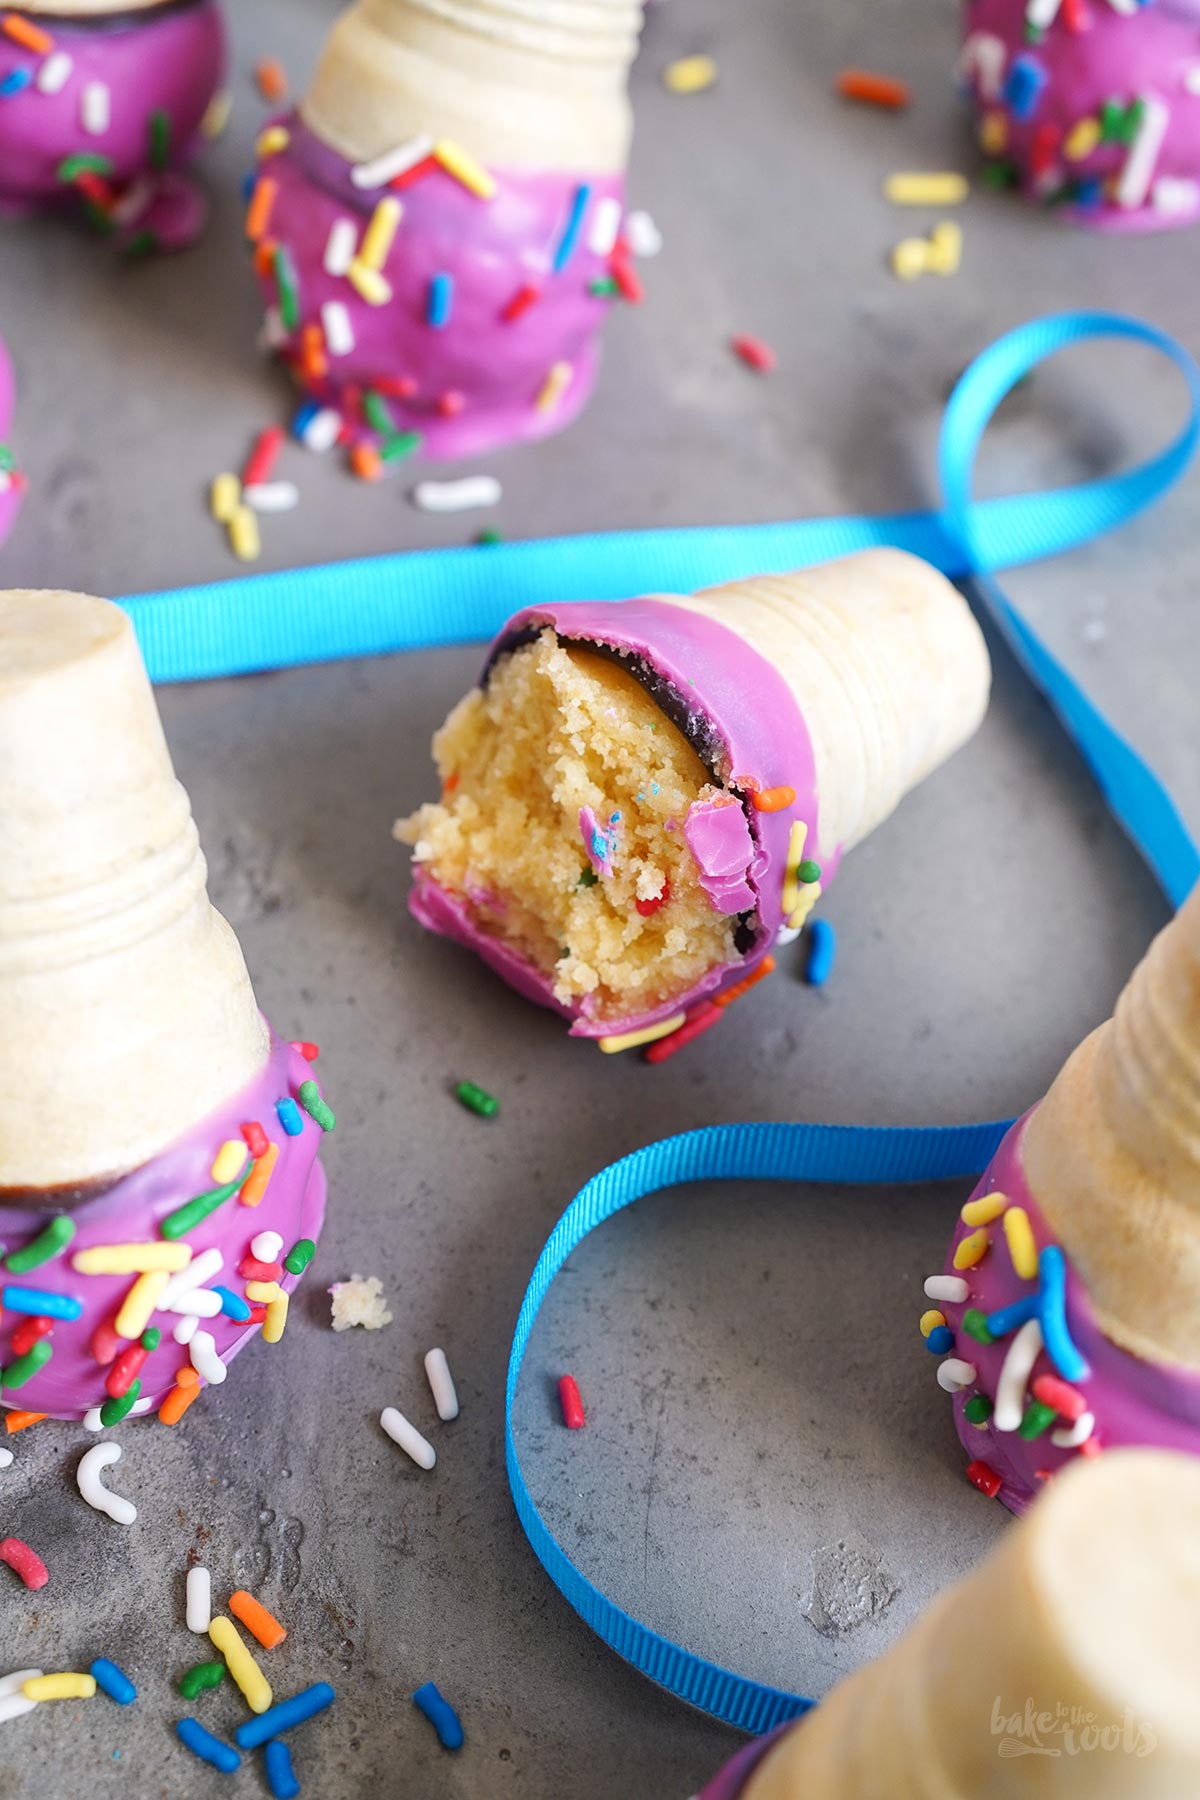
That’s why, for me, a few colorful sprinkles are pretty much all I do when it comes to decorating cake pops. And yet, I think my »melted ice cream cone« cake pops look pretty great on a dessert table or at any other occasion where you want to offer some sweet snacks.
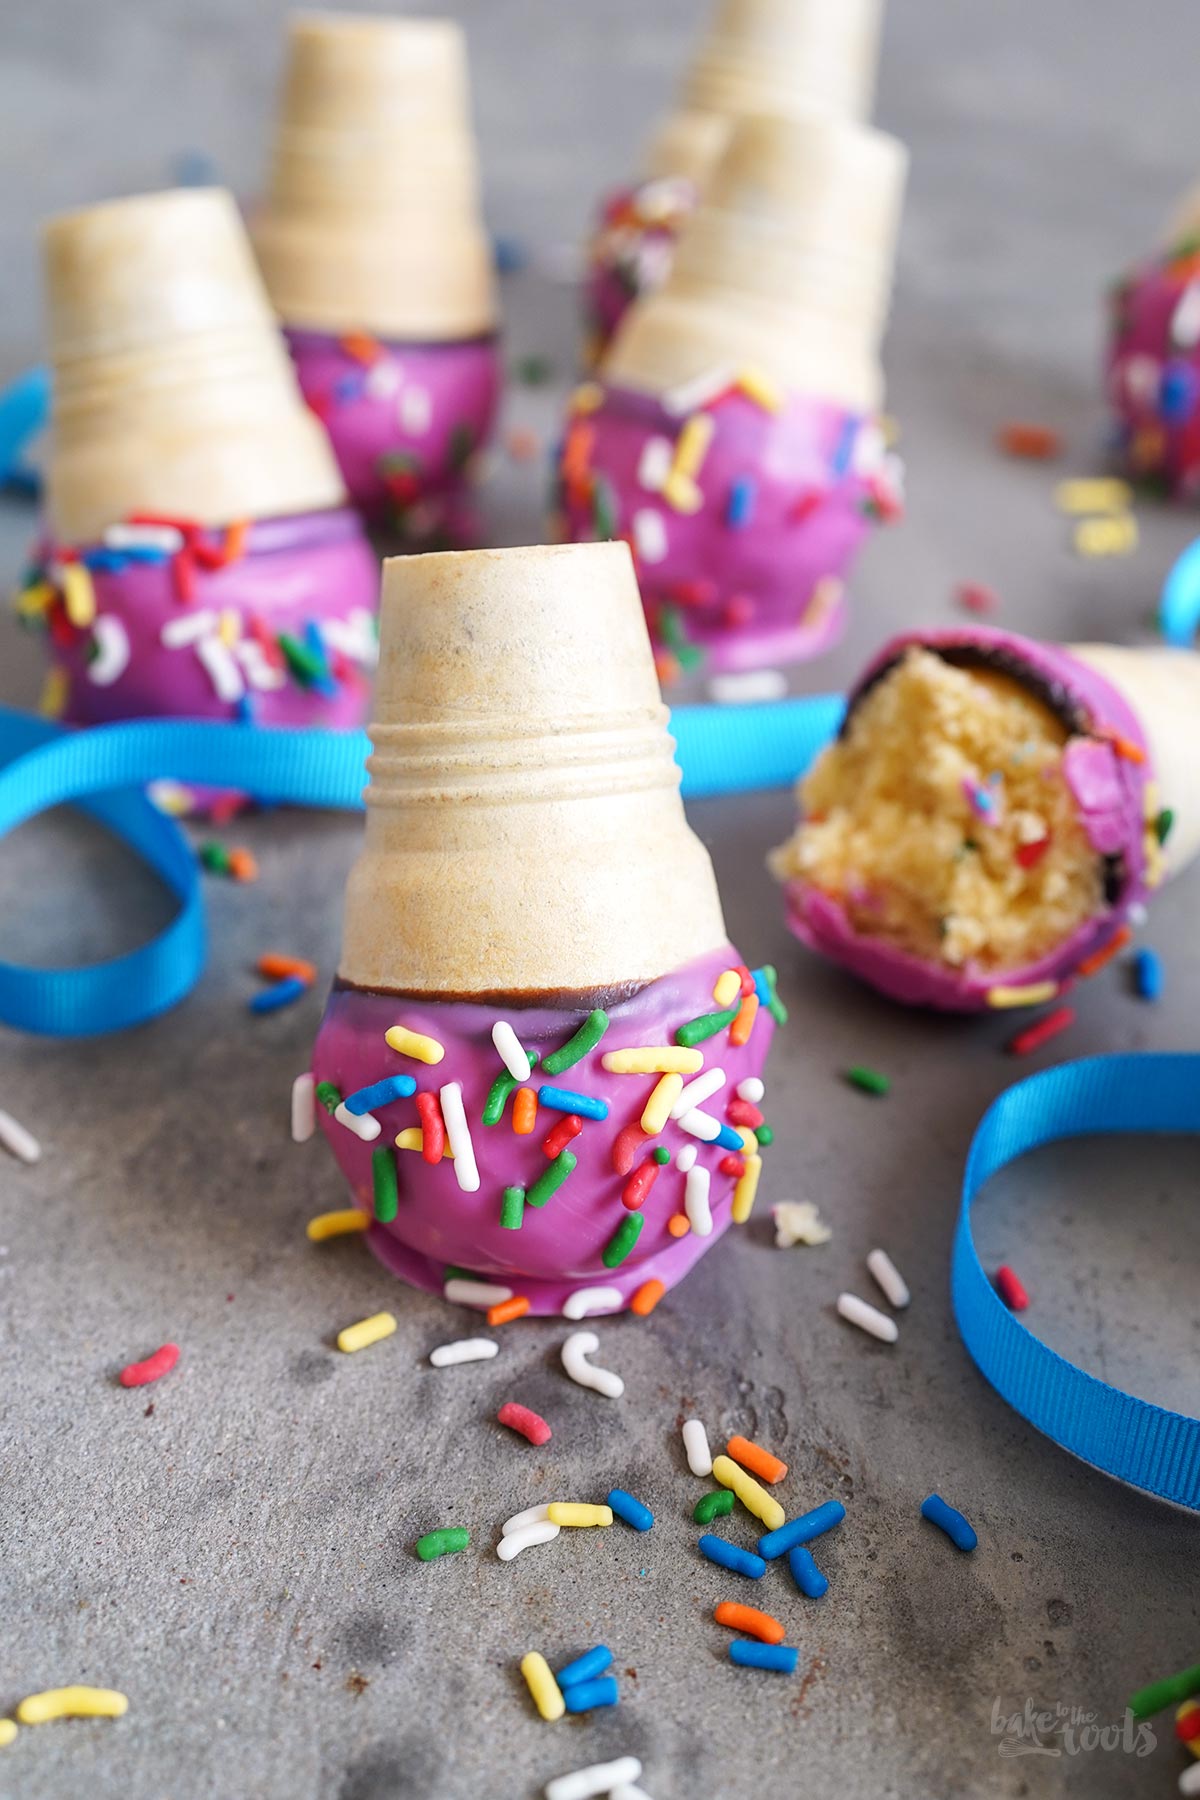
The little, colorful ice cream cones you see in the photos actually ended up at a birthday party in the park as a sweet snack to enjoy during the festivities. Thanks to their shape and decoration, no one even noticed towards the end of the party that the last few cake pops had actually melted slightly in the sun. You could almost say these ice cream cone cake pops are simply perfect for moments like that: decorated to look like a deliberate disaster, so no one notices if they actually get a bit too warm.
Then again, there’s no need to push your luck. You could just place the cake pops in the shade… I think I’ll definitely do that next time.
Anyway, making the cake pops is incredibly easy. Using store-bought cake and cream cheese instead of buttercream keeps the effort to a minimum, yet the result tastes excellent. The one thing you have to be a bit careful with is dipping them upside down into the melted chocolate or candy melts. You need to make sure the cake mixture is firmly secured inside the little cones. The rest is super easy!

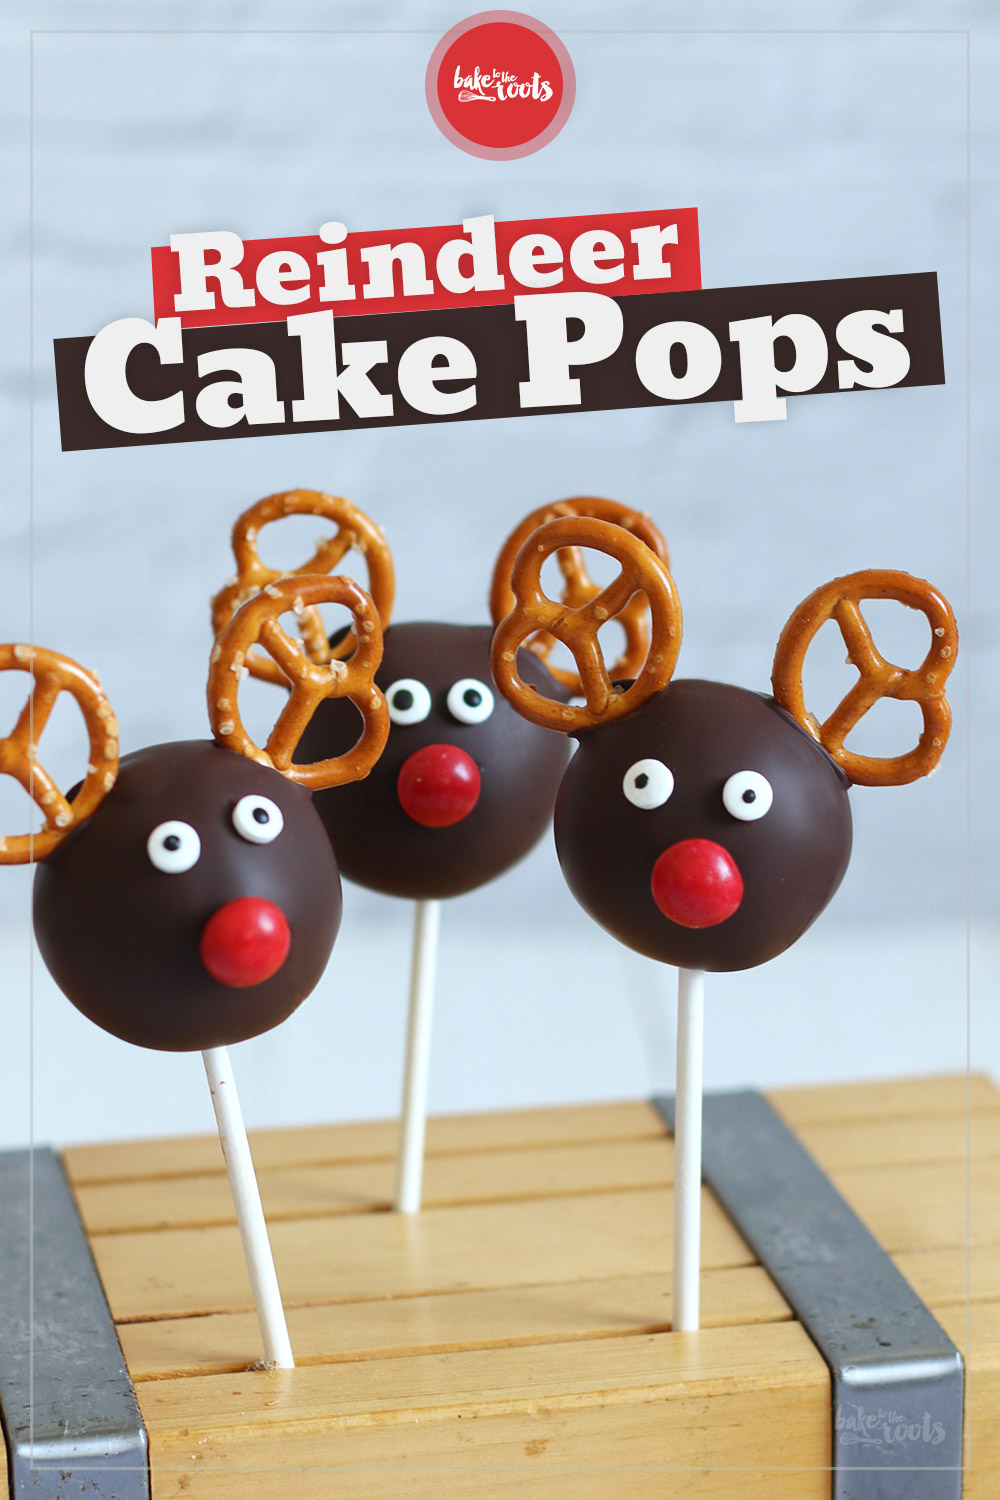
I’ve actually tried making cake pops that looked like little Minions before, too. That attempt was a total flop, though. When it comes to animals and characters, my Brownie Reindeer Cake Pops are about as ambitious as I get with cake pops. And even those fell off their sticks after a while because I haven’t quite mastered the technique yet…
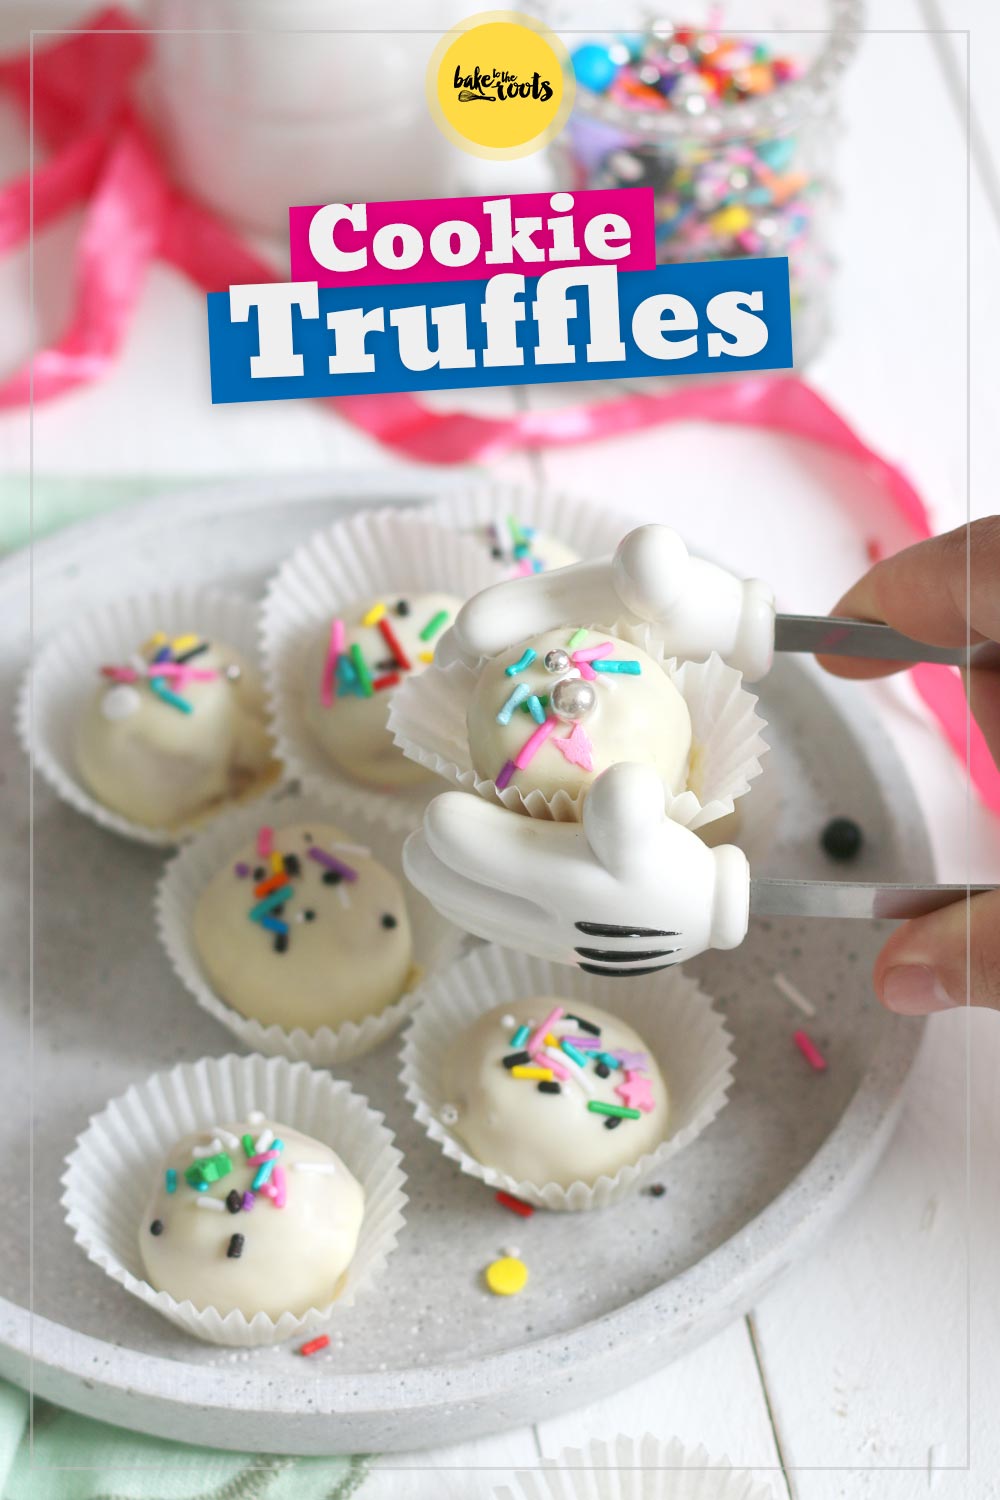
Oh well. It’s pretty clear, that for me, decorating little cake pops doesn’t go much beyond a few colorful sprinkles. For that reason, the ice cream cone cake pops and my Cookie Truffles really have to be considered the only way to pull off cake pops successfully. It just doesn’t get any better than that. But that’s ok. I guess. Or I hope.
INGREDIENTS / INGREDIENTS

DIRECTIONS / PREPARATION
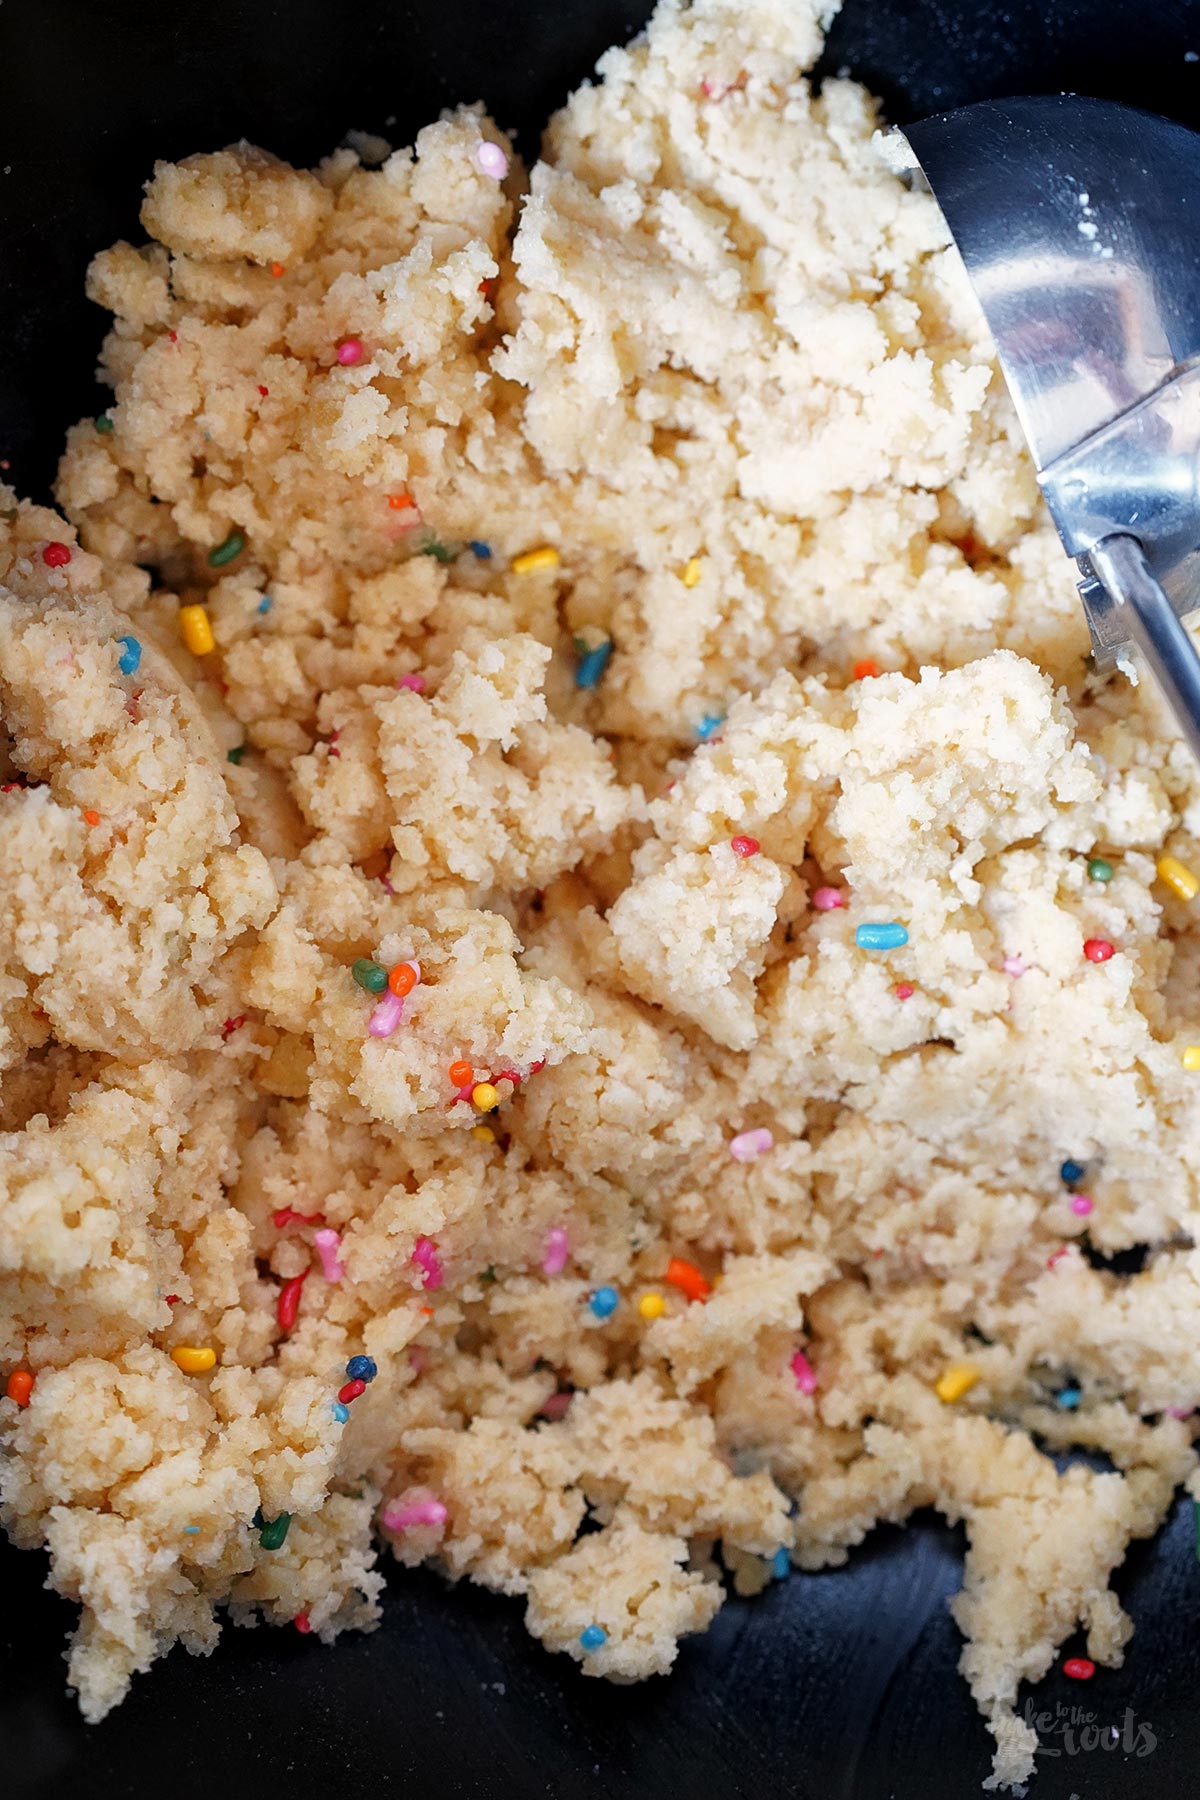
1. Add the cake to a bowl and break it to get fine crumbs. Next, add the buttercream (or cream cheese) and mix well. You don’t want to see any streaks of buttercream or cream cheese in the mixture. Add the sprinkles and mix them in.
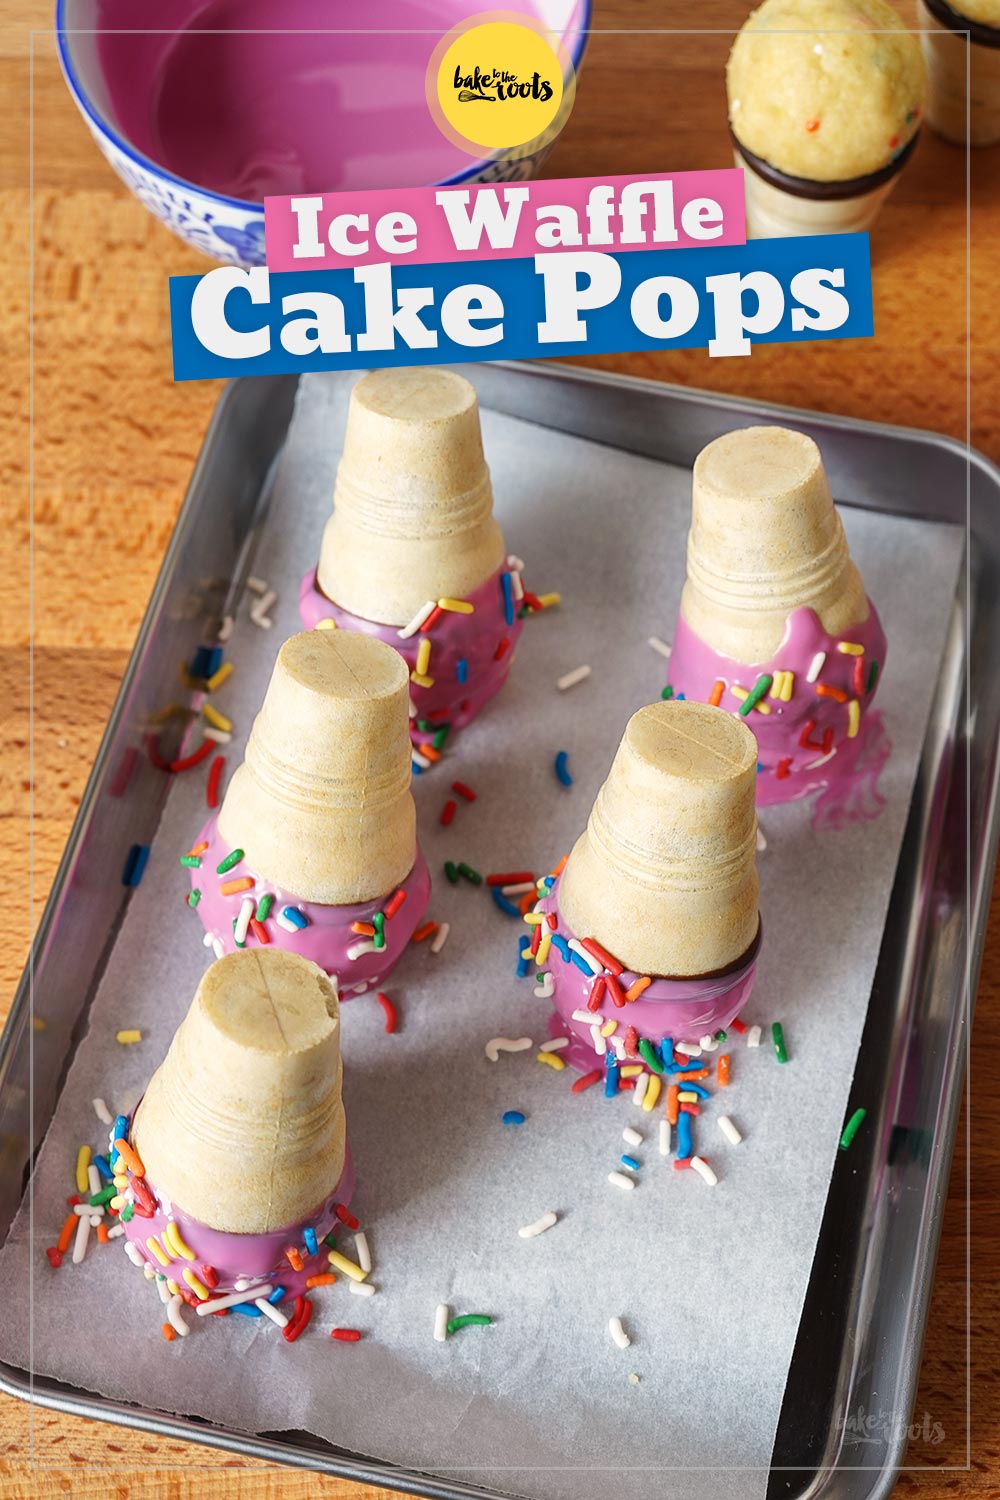
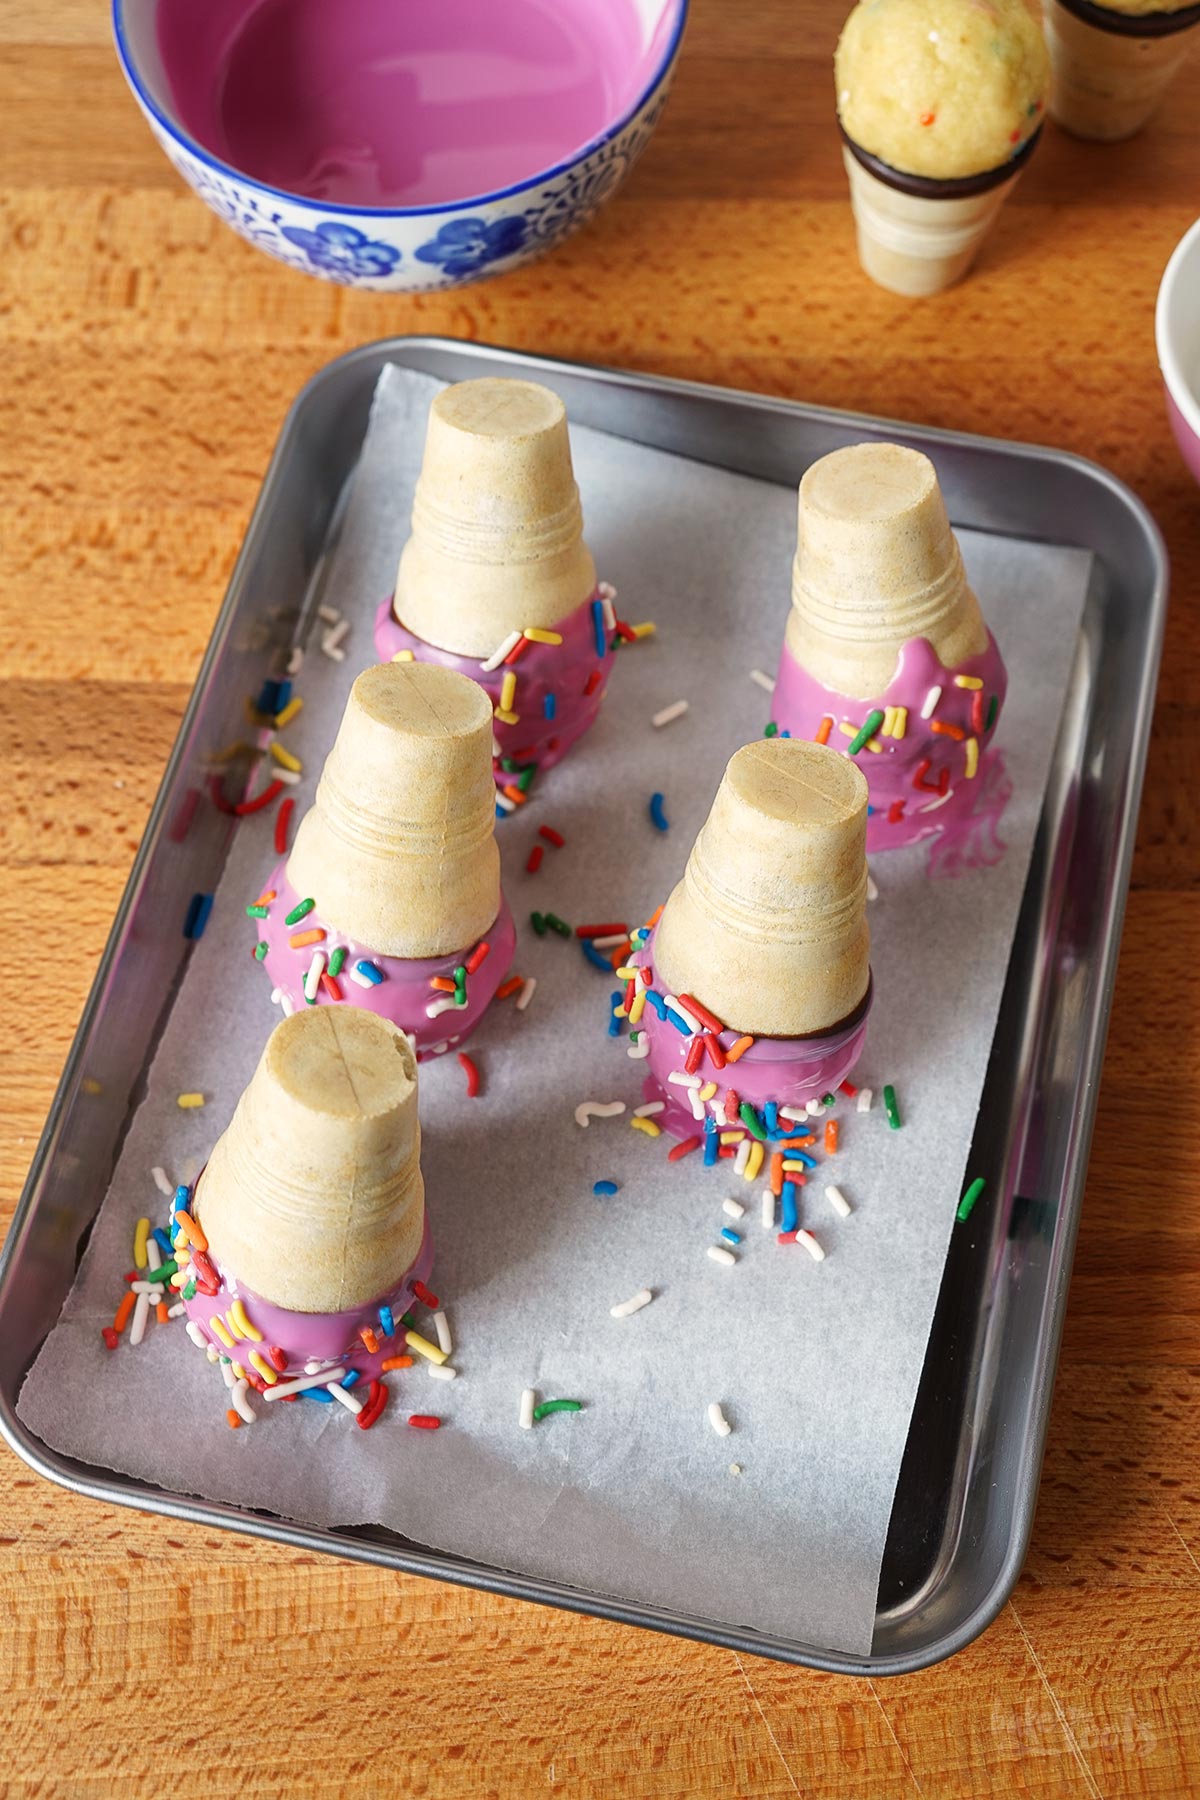
2. Shape the cake mixture into 12 balls and place them on the waffle cups, pressing them lightly into the waffles to ensure they stick firmly. Place in the fridge for about 20 minutes.
3. Add the candy melts to a small, microwave-safe bowl and melt according to the package instructions. Carefully dip the waffles with the cake balls into the melted candy melts – the glaze should extend over the edges of the waffles to ensure they hold together when cooled. Place the waffles upside down and at a slight angle on a baking tray lined with baking parchment (or similar), then sprinkle the glaze with rainbow sprinkles. When all cake pops are done, place the tray in the fridge for some time so the glaze can harden properly.
1. Place the cake in a bowl and break it into fine crumbs. Add the buttercream (or cream cheese) and mix everything well – you shouldn’t be able to see any buttercream or cream cheese anymore. Add the sugar sprinkles and mix in.
2. Form the cake mixture into 12 balls and place them on the waffle cups and press them a little into the waffles so that they stick firmly. Place in the refrigerator for about 20 minutes.
3. Pour the candy melts into a small, microwave-safe container and melt according to the package instructions. Carefully dip the waffles with the cake mixture into the melted candy melts – the glaze should go over the edge of the waffles so that everything sticks together well after they have cooled. Place the waffles upside down and at a slight angle on a baking tray (or similar) lined with baking paper and then sprinkle with colorful sugar sprinkles. When all the cake pops are ready, put the tray in the fridge for a while so that the icing can harden well.

Craving more? Keep in touch on Facebook, Instagram and Pinterest for new post updates and more. You can also contact me with any questions or inquiries!
Here is a version of the recipe you can print easily.
Description
These colorful little melting ice cream cone cake pops are perfect for celebrations and birthdays – easy to prepare and delicious. And really cute.
1. Add the cake to a bowl and break it to get fine crumbs. Next, add the buttercream (or cream cheese) and mix well. You don’t want to see any streaks of buttercream or cream cheese in the mixture. Add the sprinkles and mix them in.
2. Shape the cake mixture into 12 balls and place them on the waffle cups, pressing them lightly into the waffles to ensure they stick firmly. Place in the fridge for about 20 minutes.
3. Add the candy melts to a small, microwave-safe bowl and melt according to the package instructions. Carefully dip the waffles with the cake balls into the melted candy melts – the glaze should extend over the edges of the waffles to ensure they hold together when cooled. Place the waffles upside down and at a slight angle on a baking tray lined with baking parchment (or similar), then sprinkle the glaze with rainbow sprinkles. When all cake pops are done, place the tray in the fridge for some time so the glaze can harden properly.
Notes
Let your creativity shine in the kitchen!
Links marked with an asterisk