


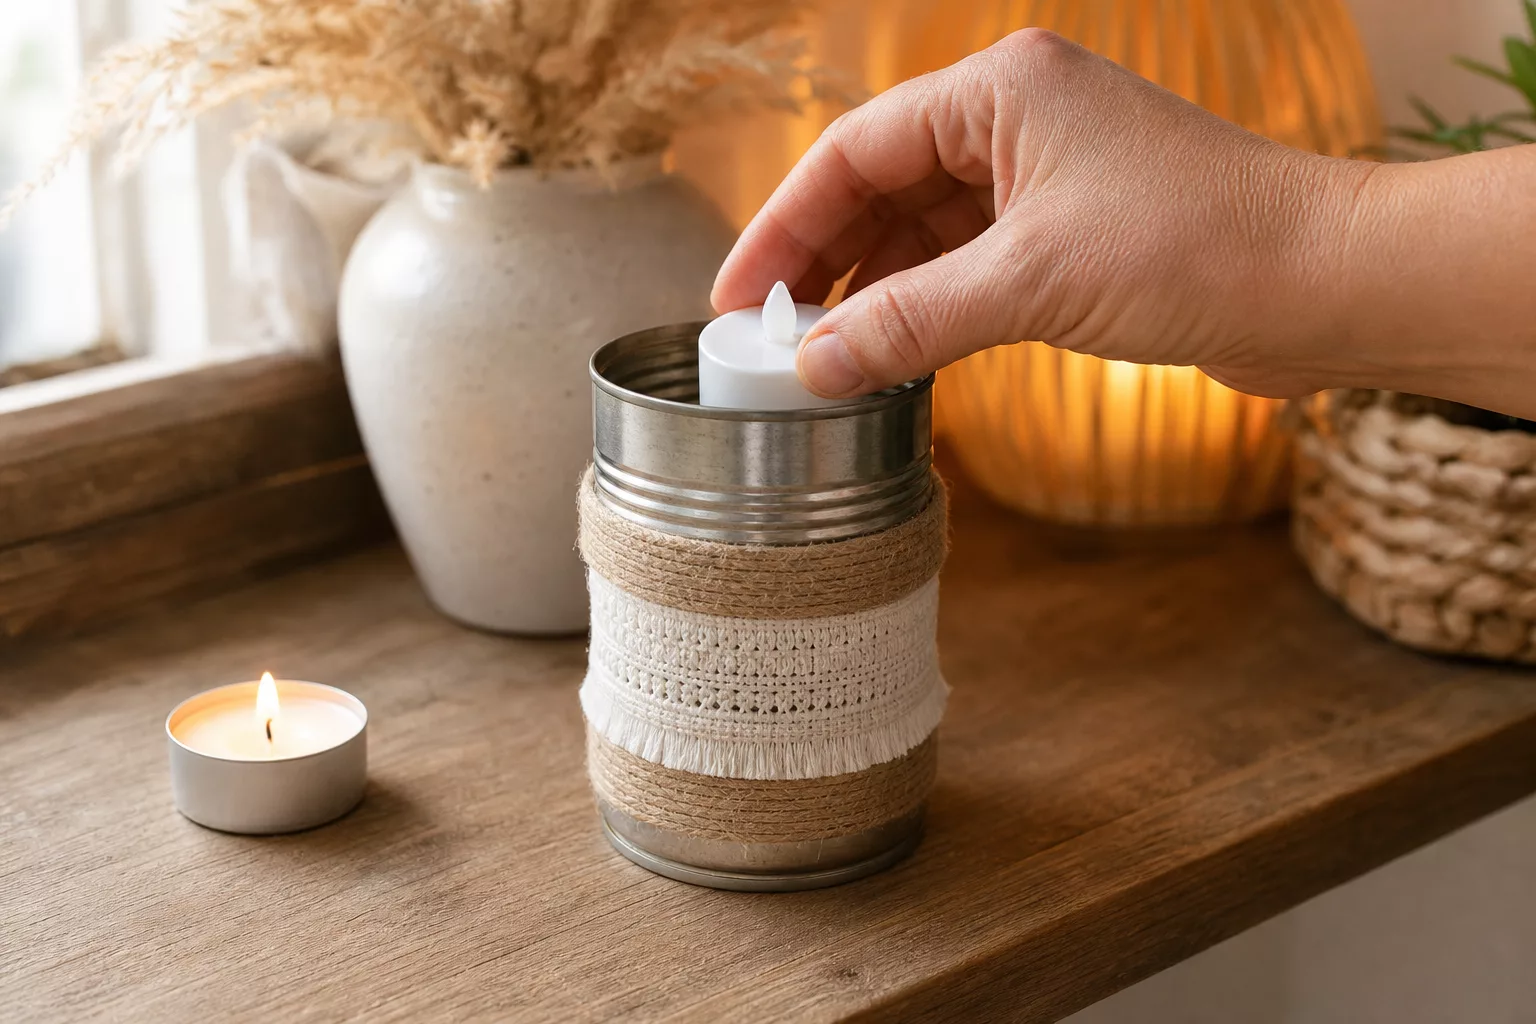
Three rinsed tin cans, a ball of jute twine and a few tea lights – that’s all you need for a wall decoration that flickers warmly in the evening and costs practically nothing. If you want to make tea light holders out of cans, you use material that is found in almost every kitchen and would otherwise be thrown away. The effort remains small: cleaning, decorating, hanging. And because each can can be decorated differently, no two cans are alike in the end – from the rustic jute look to the maritime blue and white to the red checkered version for Advent.
Why canned tealight holders are so popular
Upcycling has long been more than just a stopgap measure for tight budgets. Making something beautiful out of something that was thrown away has its own appeal – and with canned food there is a real benefit to it. The material is free, sturdy enough for a candle and can easily withstand heat. The cylindrical shape fits around a tea light almost as if it were made.
Added to this is the changeability. The same box looks rustic with jute twine and dried flowers, romantic with white paint and lace, and almost Scandinavian-reduced with matt gray. You decide on the look, not the hardware store. The small holder can find a place almost anywhere – in the living room as well as on the balcony, at a garden party or in the decoration for a party.
Which cans and materials you need
Almost any smooth-walled metal can is suitable. Flat tuna and cat food cans are particularly practical, as are small cans of corn, beans or fruit. The only important thing is a clean opening without a jagged edge – a rolled or beaded edge is much more pleasant to touch later than a freshly cut one.
Before you start, rinse the cans thoroughly and remove the label and any adhesive residue. If there are sharp burrs on the edge, carefully press them around with pliers or smooth them out with some sandpaper. Only then does the design begin.
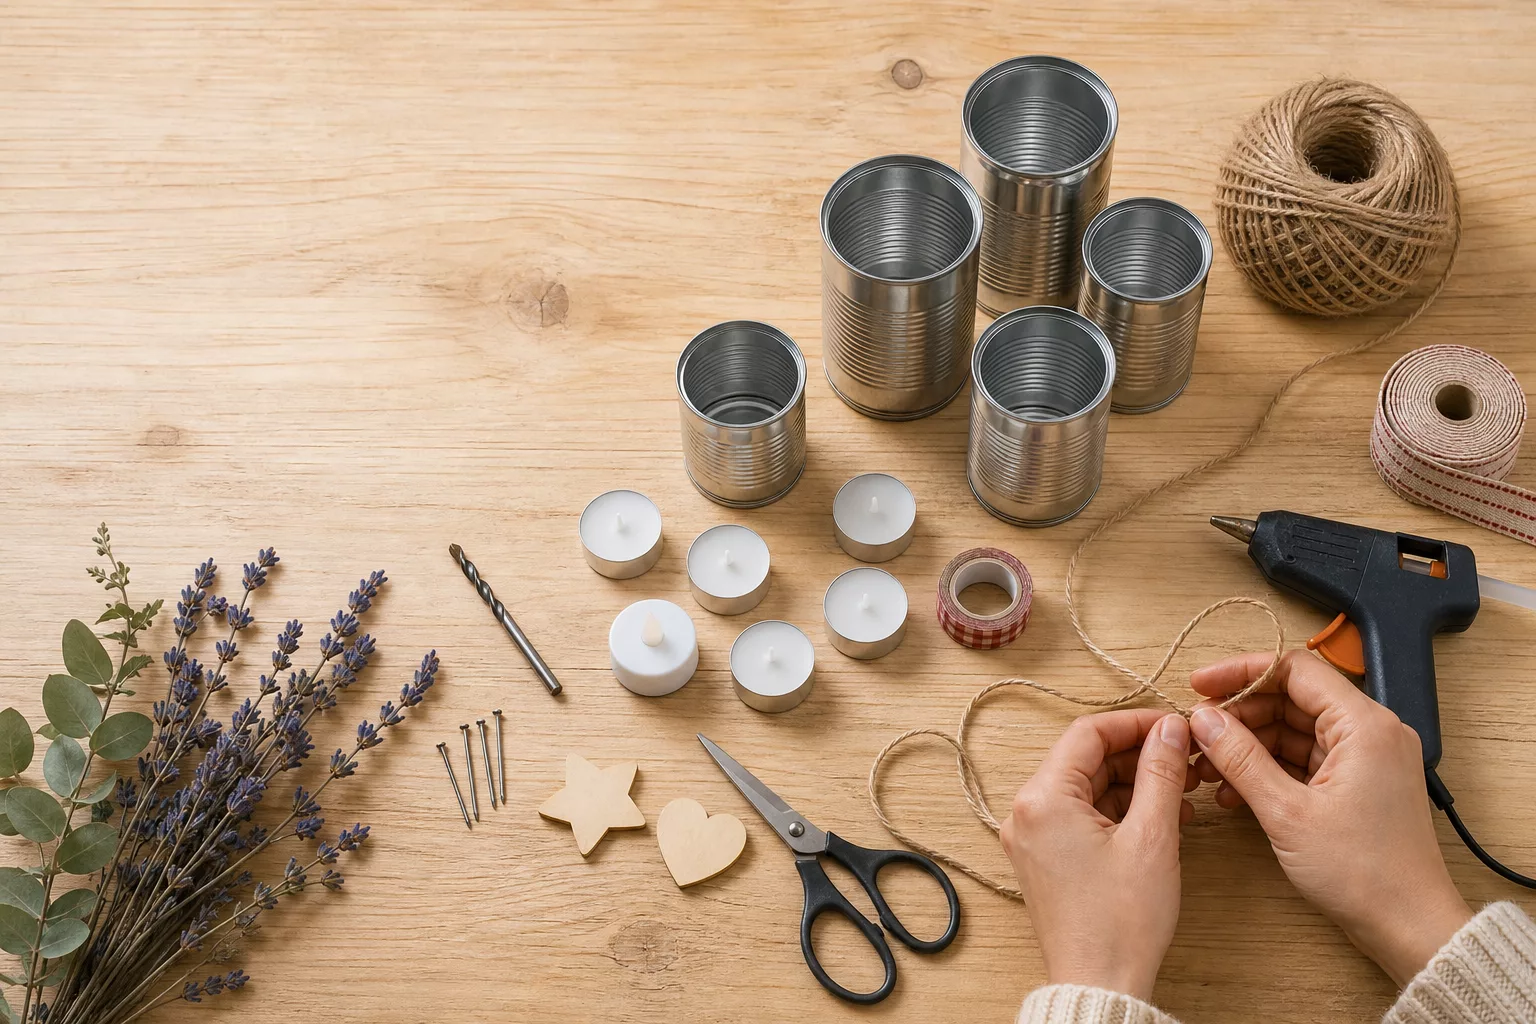
For the basic equipment you need:
- cans – cleaned, deburred, preferably in different sizes for a vivid picture
- Tealights – real wax lights or flameless LED tea lights
- Jute twine, wire or leather strap – for hanging and decorating
- Scissors and hot glue gun – for ribbon and decoration
- Nail and hammer or a thin drill – for the hanging holes
- Decoration to taste – Fabric ribbon, washi tape, lace, dried flowers, artificial ivy or small wooden pendants

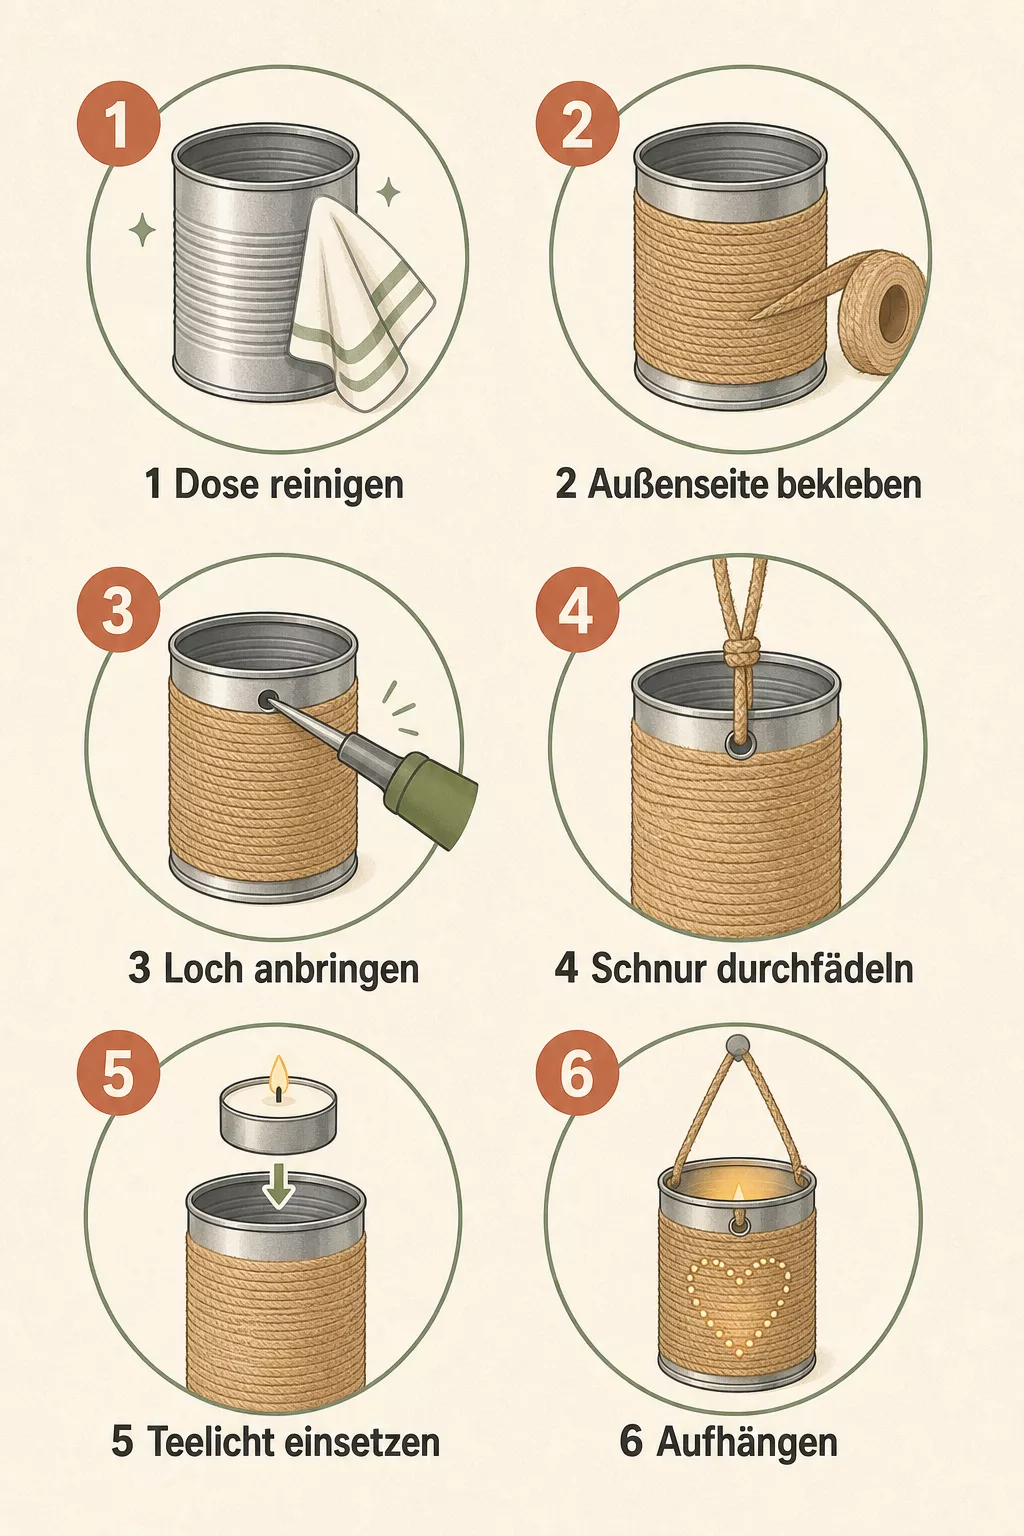
Making tea light holders out of cans: the six steps
If everything is prepared, you will be ready in just under fifteen minutes. The chronological order:
- 1. Clean and dry: Rinse the can, remove the label, soften the edges and dry everything well.
- 2. Design the outside: Wrap jute string or fabric ribbon with a little hot glue around the can, lane by lane, and attach dried flowers or pendants as desired.
- 3. Set hanging holes: Using a nail and hammer, poke two opposite holes just below the top edge.
- 4. Thread the cord: Pull the jute string through both holes and knot it over the can to create a sturdy handle.
- 5. Insert tea light: Place a wax or LED tea light in the middle; Choose the LED version for children’s rooms and wooden walls.
- 6. Hanging: Hang the holder on a branch, wall hook or clothes hanger and align the height with the neighboring boxes.

Pro tips
- Freezing trick: Fill the can to the brim with water and freeze it overnight – the ice core keeps the wall stable so that nothing gets dented when you poke a hole.
- Rust protection: Seal the cut edges and inside with colorless clear varnish to prevent rust from forming so quickly, especially outdoors.
- Clean holes: Poke from the inside out and flatten the resulting ridge so that the cord does not tear when threading.
- Same line: If you have several cans, always place the holes at the same distance from the edge so that the holders will hang evenly later.
Style ideas for every room
Whether a single can on the window frame or a whole group on the wall: you control the effect via color and decoration. These four variants work particularly reliably.
| variant | Matching colors | That’s what makes them special |
|---|---|---|
| Wall gallery (5-9 cans) | Natural tones, beige, cream | Quiet eye-catcher over the sofa or dining table |
| Clothes hanger mobile | White, gray, anthracite | Cans at different heights, floating freely in space |
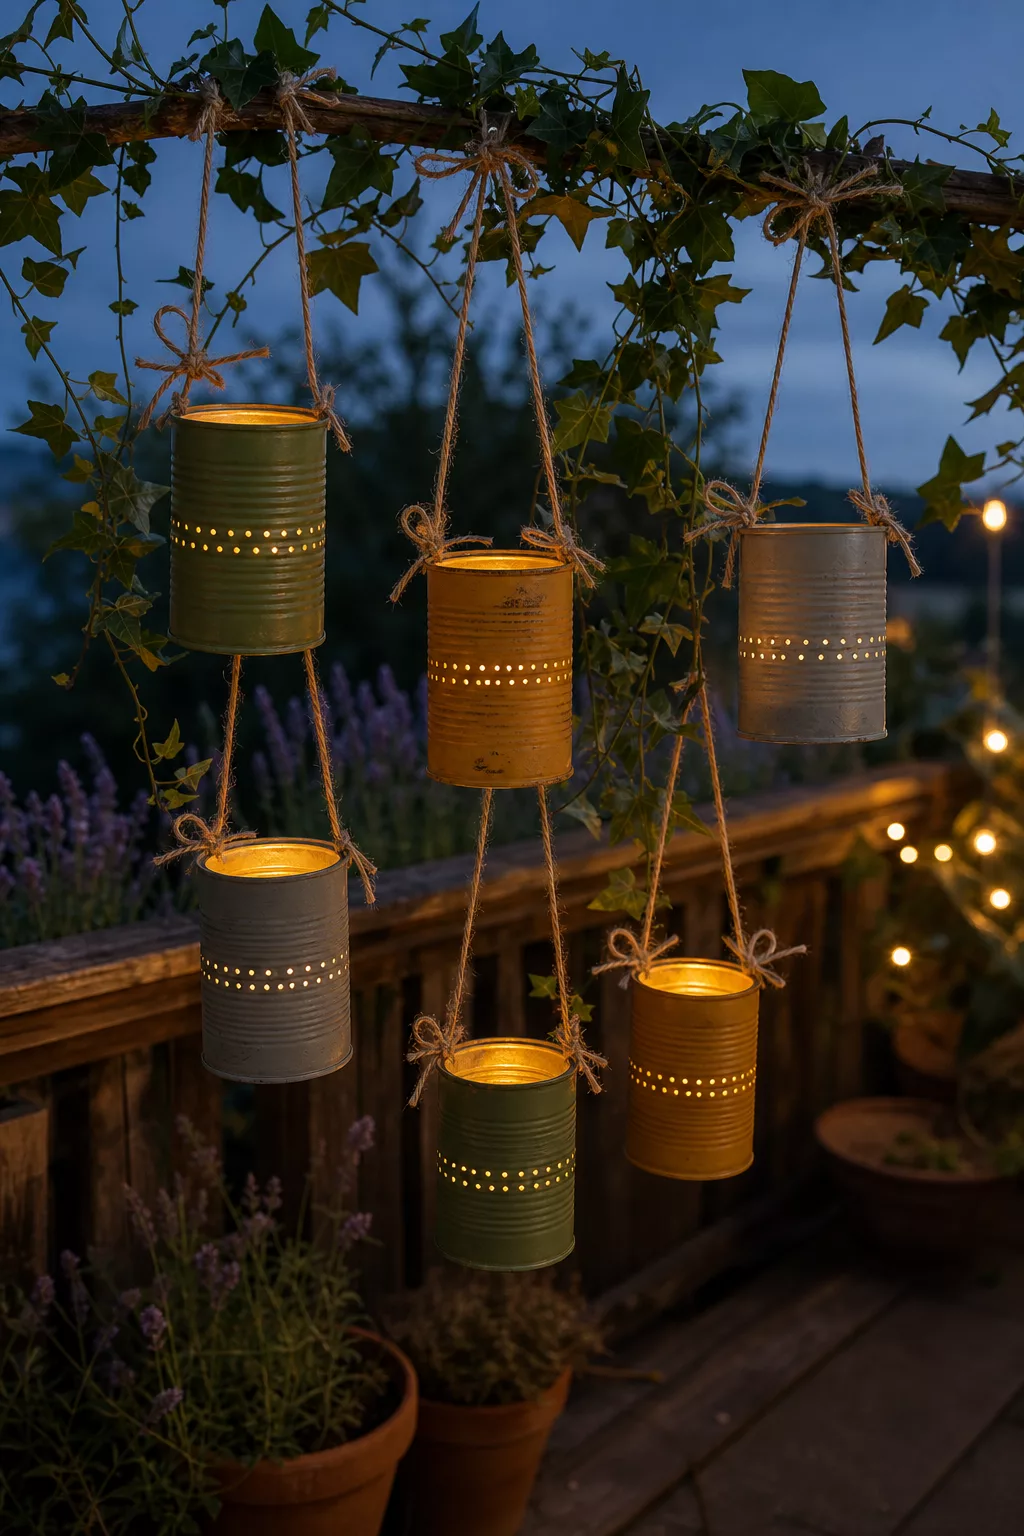
| Garden & balcony | Moss green, ocher, maritime blue | On the branch or trellis, with weatherproof LEDs |
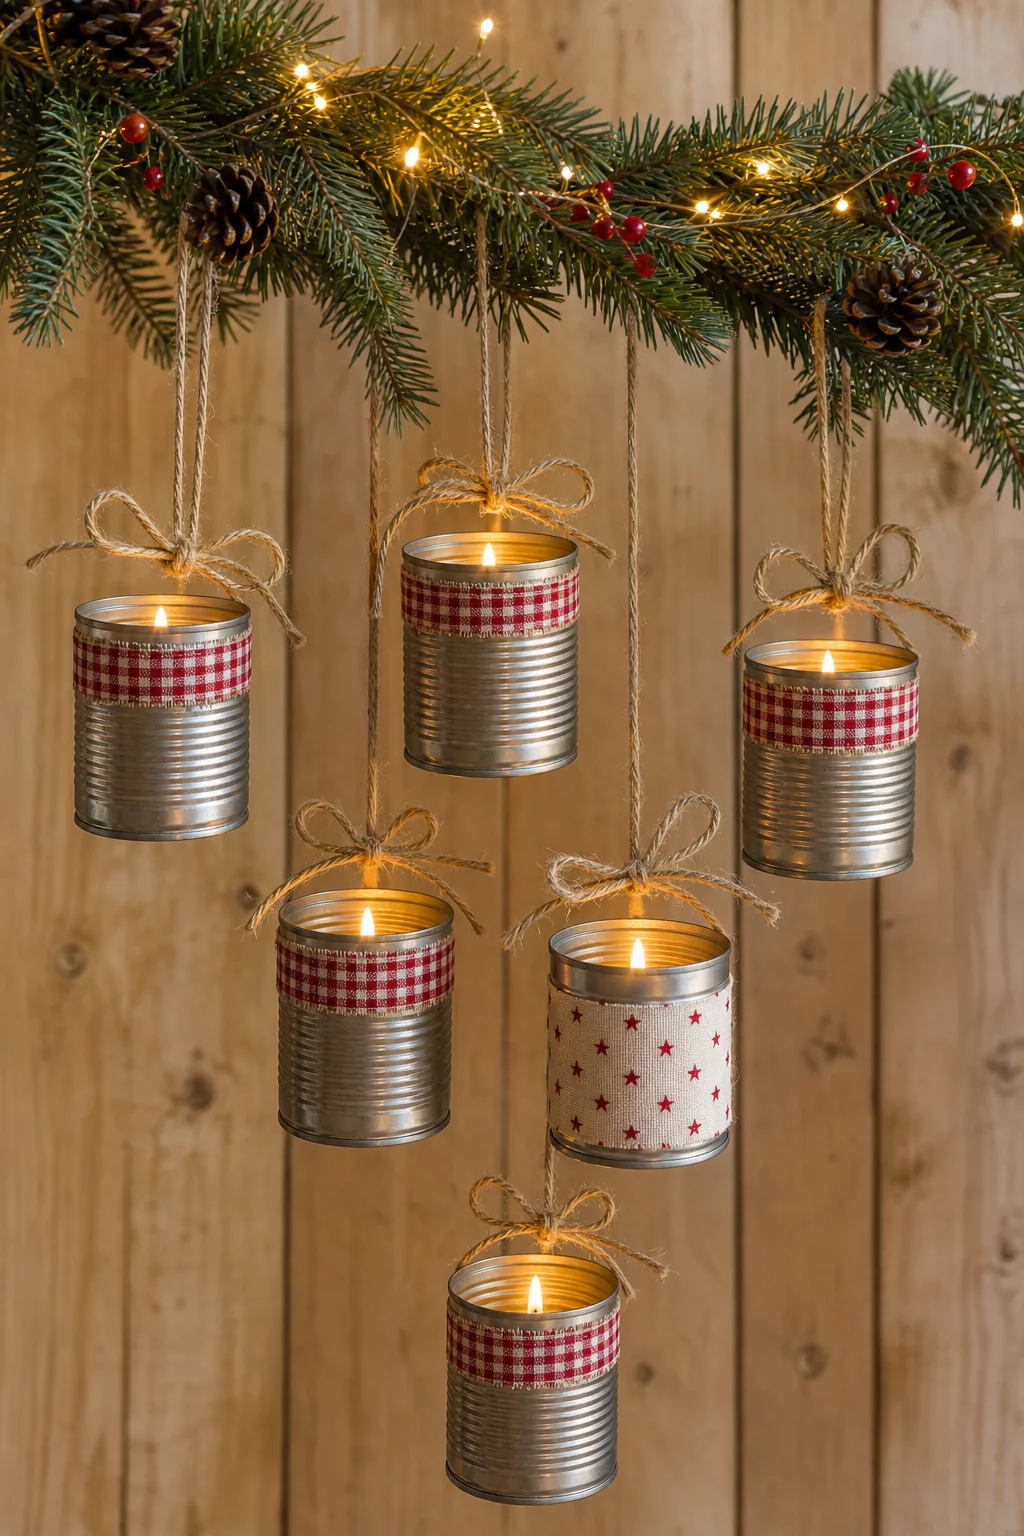
| Christmas | Red and white check, fir green | Checkered ribbon, cones and pine branches above the group |
The whole thing is particularly effective outside in the evening – on a branch, the pergola or a trellis. However, in wind and weather, weatherproof LED tea lights are a better choice than open flames; a downpour does not extinguish an LED. If you like, you can combine the holders with a chain of lights or make matching lanterns for the garden yourself.
At Christmas time, the same basic instructions can be turned into festive decorations in no time: red and white checked ribbon, a few pine branches and cones over the group of cans, plus warm candlelight. Star motifs or narrow bows add additional accents.
Safety with candles and LED tea lights
As atmospheric as open flames are, there are a few rules involved. Metal conducts heat much faster than glass, which is why the wall of the can above a real candle becomes noticeably warm. On a wooden wall or close to fabric, dried flowers and fir branches, you should take this detail seriously.
Tea lights are often considered harmless, but they are not: During operation, the wax liquefies completely, which increases the risk of fire. The Nuremberg fire department expressly points this out and advises maintaining the minimum distance specified by the manufacturer – often around ten centimeters – and never placing candles on highly flammable surfaces such as napkins or fir branches.
For children’s rooms, wooden surfaces and outdoor areas, LED tea lights are the more relaxed choice. They flicker in a deceptively real way, stay cool and can also shine unattended. Real candles, on the other hand, should never be left to burn without supervision and should be kept away from anything combustible – you can find out more about this in our information on material safety for homemade tea light holders.
What’s Hot

Garden decoration
Privacy screen for the terrace and garden made from things from the attic
Frequently asked questions
Do the cans really get hot with a real candle?
The top edge and the wall directly next to the flame are particularly warm; the floor with the wax residue stays cooler. When mounted on a wall, a hand’s width distance from wallpaper or wood is usually sufficient. If you want to be on the safe side, put a small glass into the can as an inner sleeve or use an LED.
Do the cans rust over time?
Hardly inside, but outside – rain and condensation affect uncoated sheet metal. Seal edges and interior with colorless clear varnish before first use; In an emergency, clear nail polish on the cut edges will also work. For long-term outdoor use, galvanized or coated boxes are the more robust choice.
How do I remove labels and adhesive residue without leaving any residue?
Soak the can in warm soapy water for around half an hour and the paper can usually be removed in one piece. Remove sticky residue with a few drops of cooking oil, leave it to work for a moment and then rub off with a sponge. Stubborn areas are softened by briefly heating them with a hairdryer.
When the first can hangs on the wall, it’s rarely over: the same cans are turned into lanterns, small herb pots or the numbered doors of an Advent calendar. If you get a taste for it, you can make your own lanterns here as well as other ideas for upcycling cans in the workshop – and the next empty can is guaranteed not to end up in the trash.